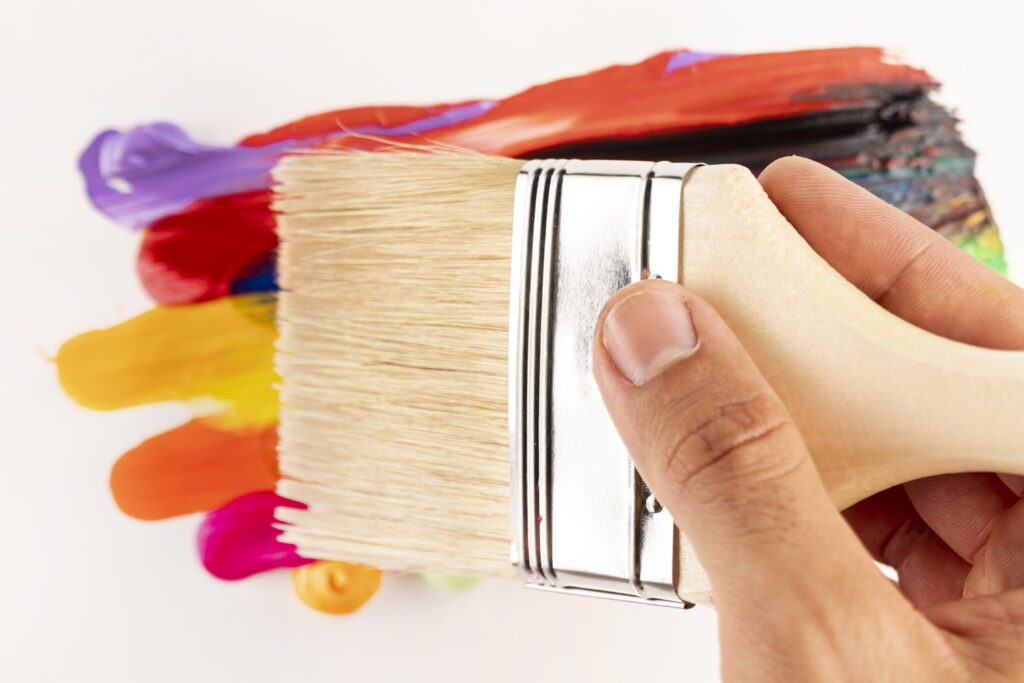
Title: Mastering Blending with a Wet Brush: Step-by-Step Techniques and Pro Tips
Introduction:
Blending with a wet brush is a versatile technique that allows artists to create smooth transitions and gradients in their paintings. It involves using a wet brush to manipulate wet paint on the canvas, resulting in beautiful and seamless blends of color. In this guide, we will explore the step-by-step process of blending with a wet brush, along with helpful tips to enhance your artistic skills. For more resources and inspiration, be sure to check out our website at https://urartstudio.com.
Step 1: Prepare Your Materials
Start by gathering your materials, including brushes, water containers, palette, and a selection of paints. Use large brushes for broader areas and smaller brushes for fine details. Keep a clean and wet brush nearby to aid in blending.
Step 2: Create a Base
Begin by applying a base layer of paint to your canvas using broad, even strokes. This will provide a foundation for the blending process. Apply the paint thinly to ensure it dries more quickly and stays wet for longer.
Step 3: Mix Your Colors
Mix the colors you intend to blend on your palette. Gradually progress from one color to the next, creating a smooth gradient. You can also pre-mix a color gradient to save time during the painting process.
Step 4: Wet Your Brush
Dip your brush into water and gently squeeze out any excess. The brush should be damp but not dripping wet. This helps to keep the paint on the canvas wet and malleable for blending.
Step 5: Apply the First Color
Using a damp brush, apply the first color gently to the canvas. Start from one end and work your way towards the area where you want to create the blend. Use long and even strokes, leaving some space for the next color.
Step 6: Blending Techniques
With the first color still wet on the canvas, dip your brush into water again to moisten it. Use the damp brush to blend the edges between the first color and the area where the next color will be applied. Make broad, sweeping motions to create a gradual transition. Add more water if necessary.
Step 7: Apply the Next Color
Apply the next color immediately adjacent to the blended area. Work quickly to ensure the paint is still wet when you start blending. Repeat the same blending technique used in Step 6 to create a smooth transition between the two colors.
Step 8: Refine and Repeat
Continue to apply and blend colors, layer by layer, until you achieve the desired effect. Experiment with different brush sizes, pressures, and blending techniques to create unique textures and gradients.
Step 9: Fine-Tune and Detail
Once you have completed the overall blending, take a smaller brush to refine areas and add finer details. Use precise strokes to enhance the transitions and bring out the subtleties in your painting.
Step 10: Practice and Experiment
Blending with a wet brush is a skill that improves with practice. Don’t be afraid to experiment with different colors, brush techniques, and subjects. Each painting presents an opportunity for growth and discovery.
Remember, these steps are just a starting point. As an artist, feel free to develop your own techniques and explore new possibilities with blending. For further guidance, inspiration, and a wealth of free resources, including tutorials and reference materials, we encourage you to visit our website at https://urartstudio.com.
Happy painting and may your artistic journey be filled with creativity and success!


