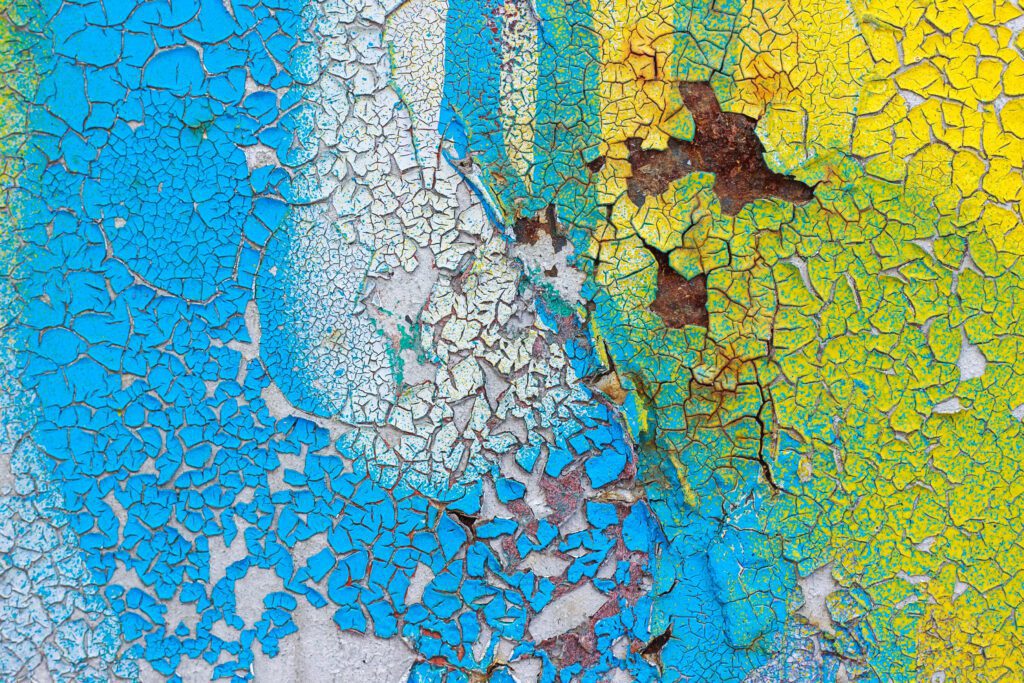
Introduction: Creating a Crackle Effect with Painting
The crackle effect technique is a captivating method that adds texture and depth to your paintings, providing an aged, weathered, or antique appearance. This technique involves the intentional creation of cracks and fissures on the painted surface, resulting in a unique aesthetic. In this guide, we will explore step-by-step instructions and helpful tips to achieve the crackle effect in your artwork.
Step 1: Prepare Your Materials
Before you begin, gather the necessary materials:
- Canvas or painting surface
- Acrylic or oil paints
- Crackle medium
- Paintbrushes
- Palette or mixing surface
- Water container
- Paper towels
Ensure that your canvas is properly primed with gesso or a suitable ground, and have your desired base color ready for the first layer of paint.
Step 2: Apply the Base Color
Start by applying the base color to the canvas. This color will show through the cracks in the final result, so choose a shade that complements your artistic vision. Use broad strokes to cover the entire canvas, ensuring an even and opaque layer. Allow the paint to dry completely before moving on to the next step.
Step 3: Apply the Crackle Medium
Using a clean brush or a palette knife, apply a layer of crackle medium on top of the dried base color. The crackle medium is essential for producing the desired cracking effect. Follow the manufacturer’s instructions for the specific crackle medium being used, as application methods may vary.
Step 4: Let it Dry and Crack
After applying the crackle medium, allow it to dry. As it dries, the crackle medium will create cracks and fissures on the surface, giving your painting its distinctive cracked appearance. The cracking process varies depending on the medium used, so refer to the instructions to determine the approximate drying time.
Step 5: Apply the Top Color
Once the crackle medium has fully dried and cracked, it’s time to add the top color. Choose a contrasting or complementary color to the base color that will highlight the cracks. Apply the top color using a brush or palette knife, covering the entire canvas with broad, deliberate strokes. Avoid overworking the paint to ensure the cracks are not filled completely. Allow the painting to dry thoroughly.
Step 6: Finishing Touches and Artistic Ideas
To enhance the crackle effect and add depth to your painting, you can experiment with additional techniques and ideas:
- Glazing: Apply a transparent or semi-transparent glaze over the crackled surface to add a subtle tint or glow. This can create a beautiful interplay between the cracks and the glaze color.
- Dry brushing: Use a nearly dry brush with a small amount of paint to gently highlight the raised edges of the cracks. This technique accentuates the textured appearance.
- Mixed media: Combine the crackle effect technique with other artistic techniques, such as collage, texture pastes, or found objects, to create a truly unique and captivating artwork.
Remember, these suggestions are just starting points. Feel free to explore and experiment, allowing your creativity to guide you in creating astonishing crackled masterpieces.
Lastly, for further inspiration, techniques, and guidance, we encourage you to browse through additional free resources available on our website at https://urartstudio.com. Here, you’ll find a wealth of information, tutorials, and community-driven support to help you refine your skills and unlock your artistic potential.
Happy painting and enjoy the journey of creating captivating crackle effect artworks!