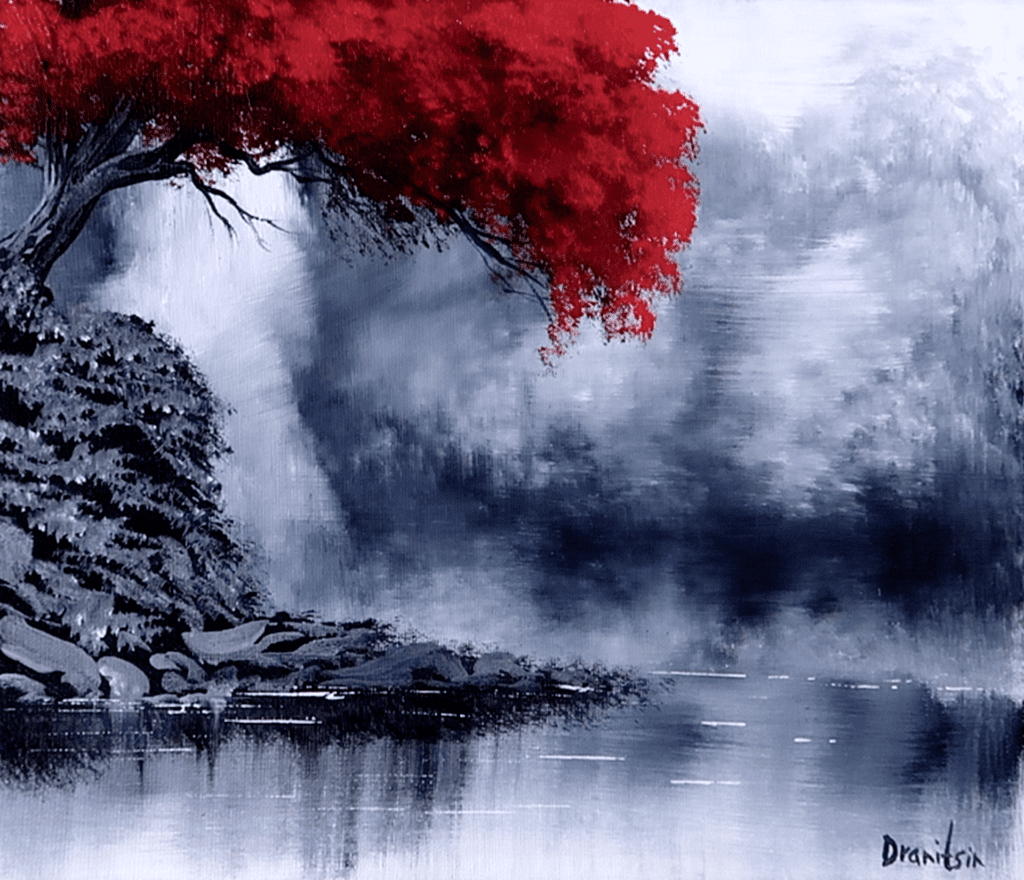
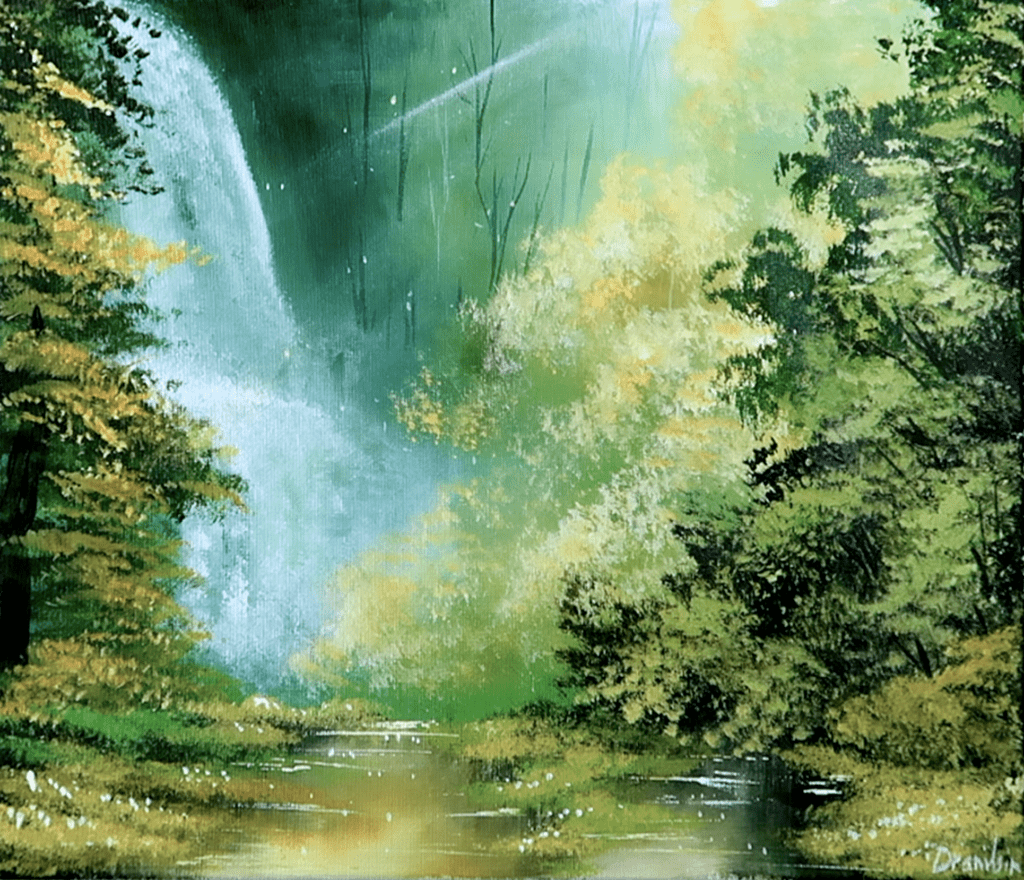
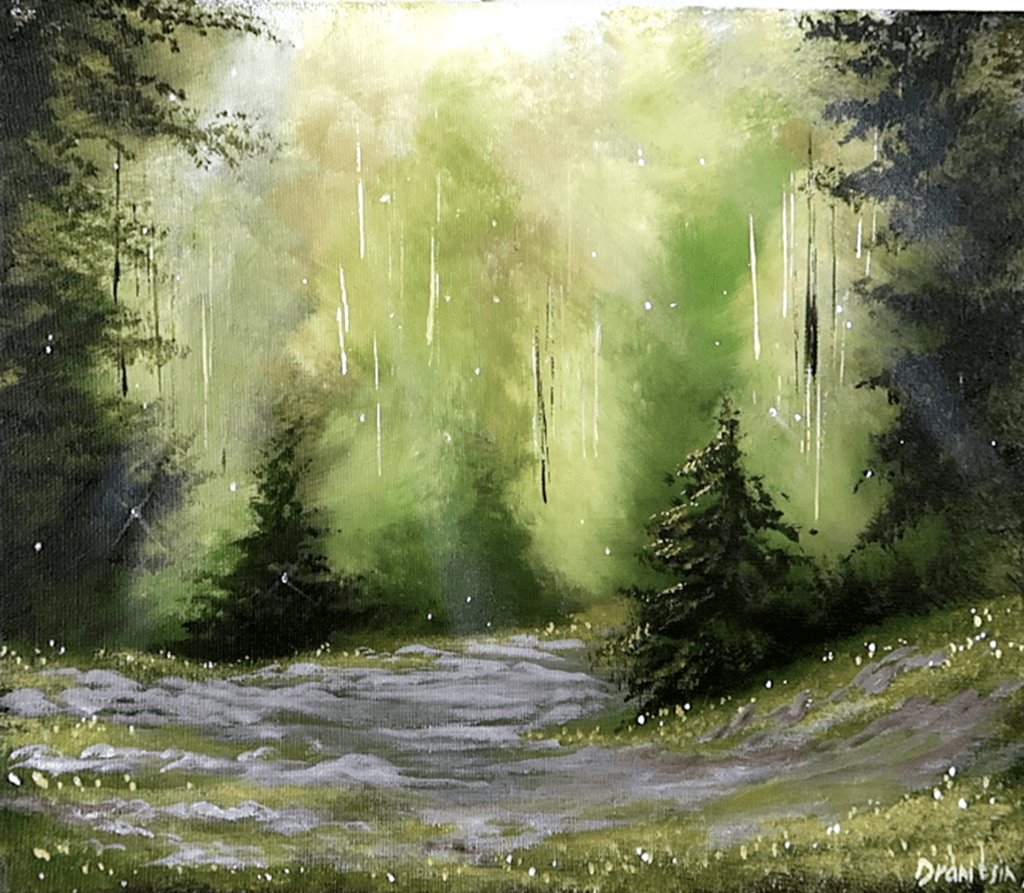
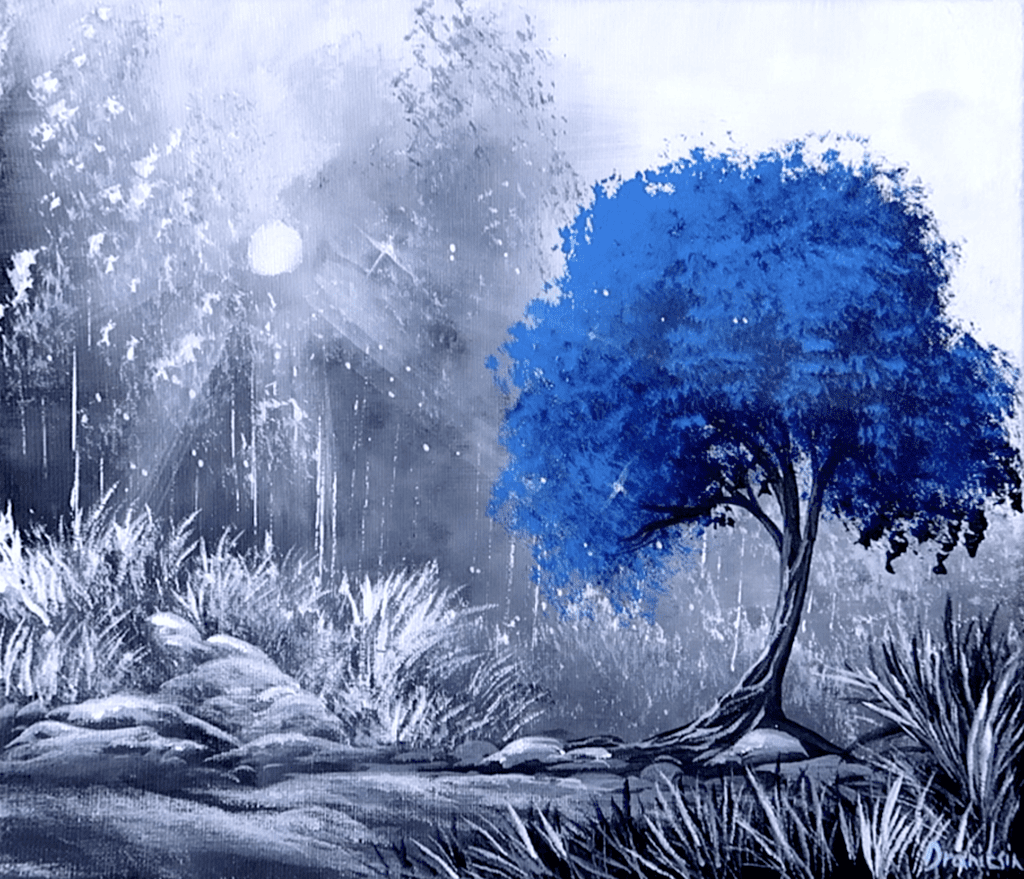
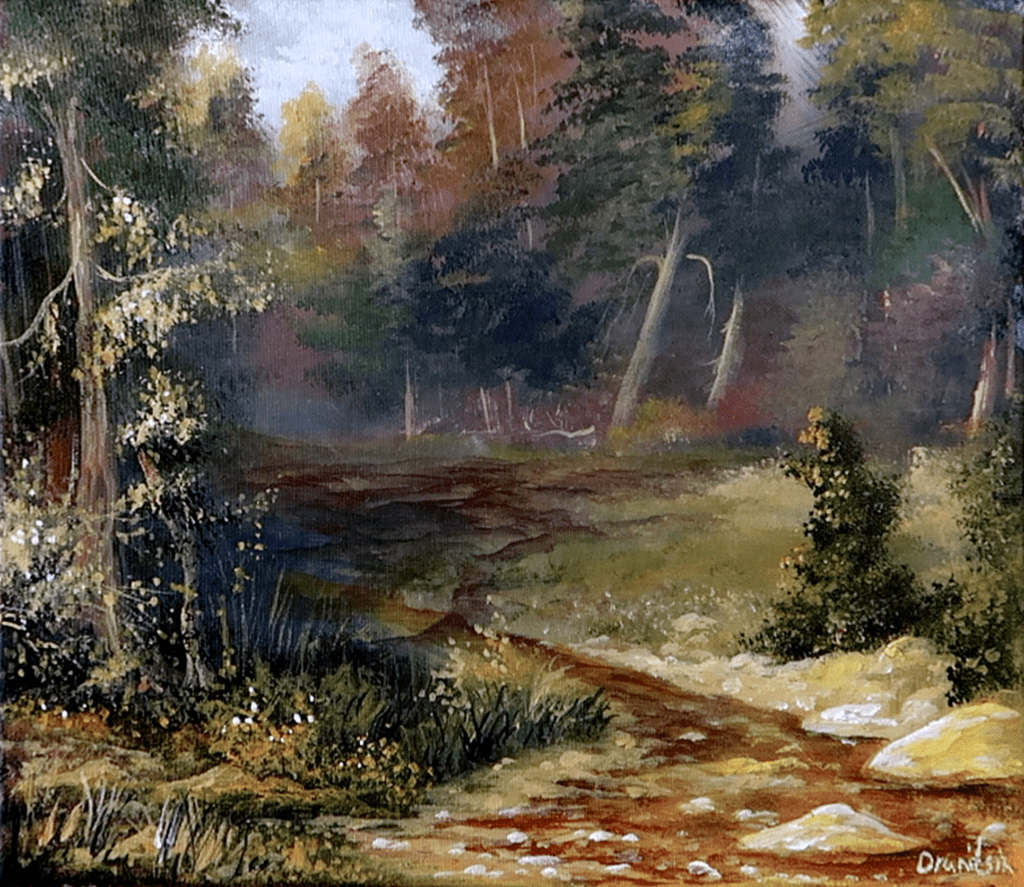
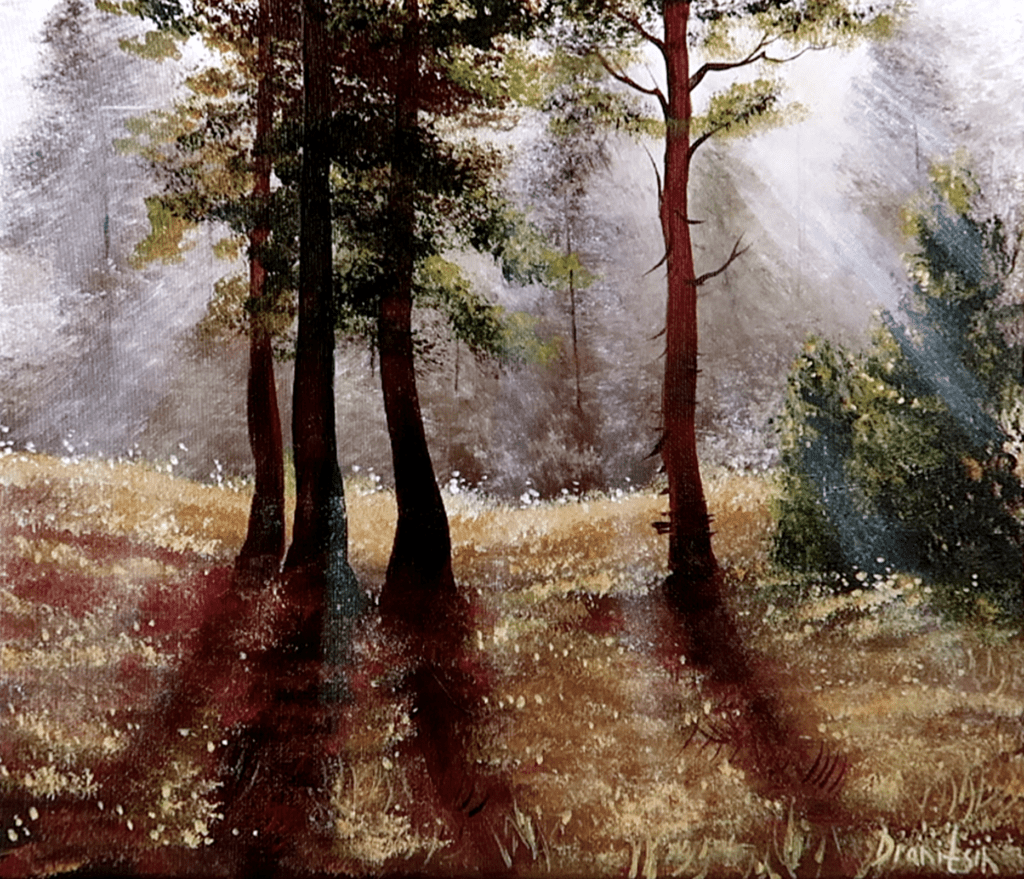
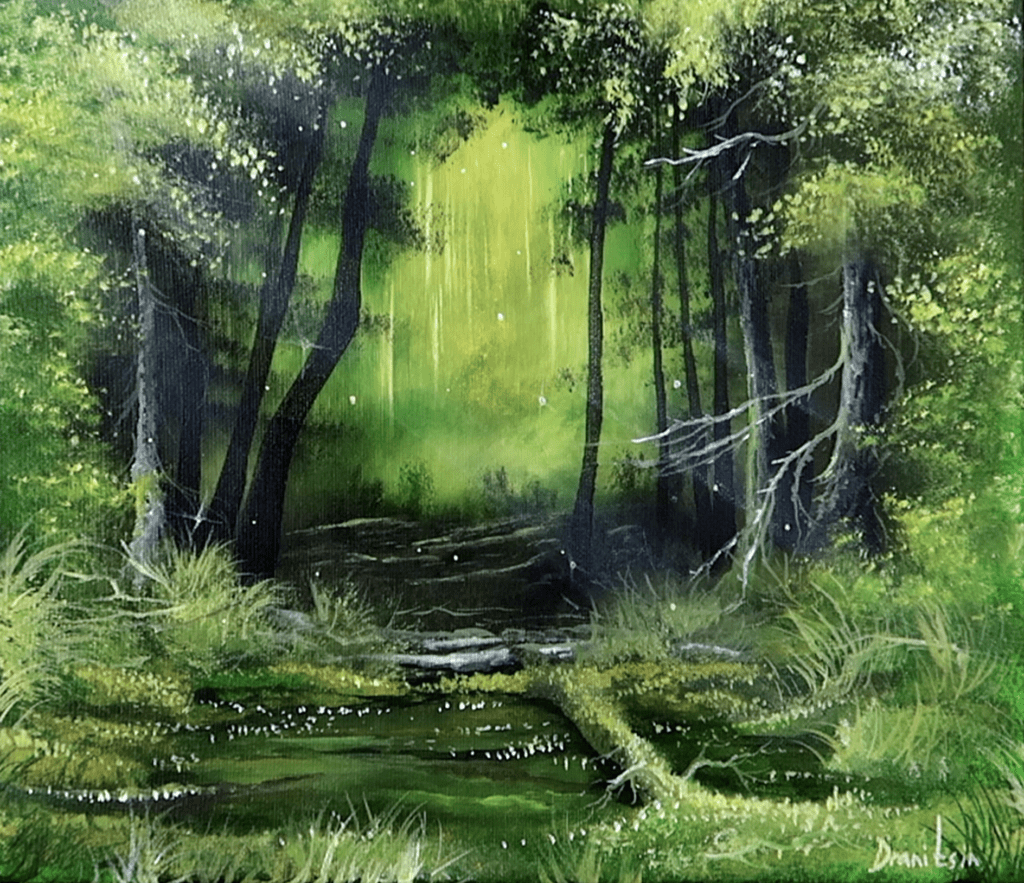
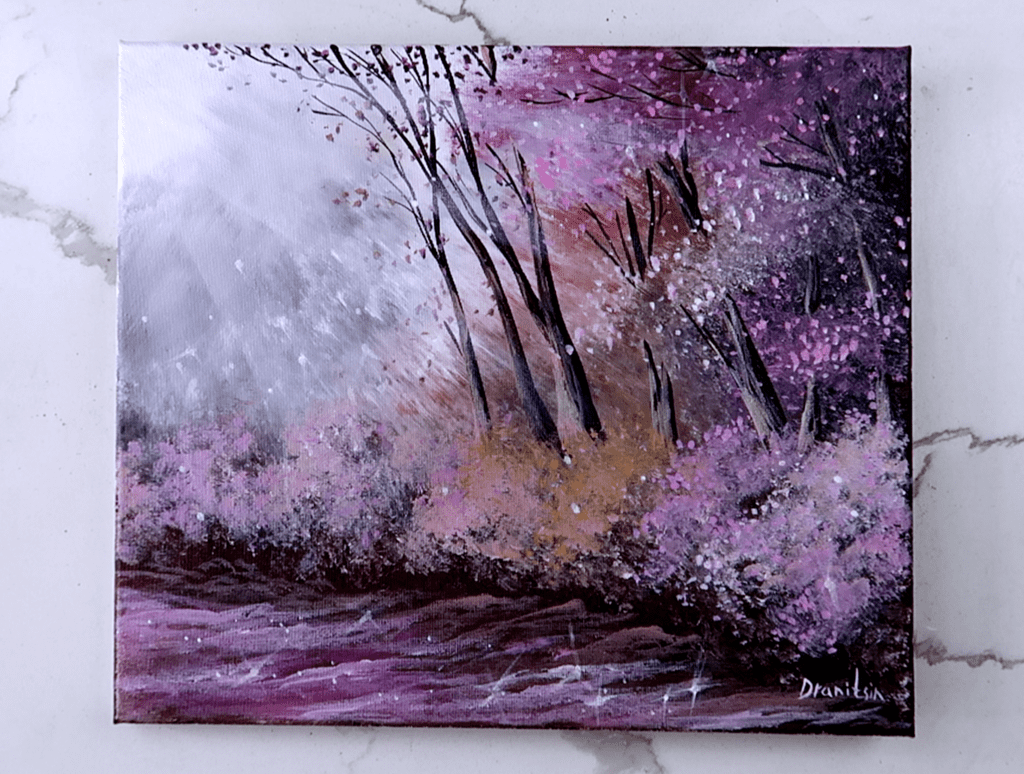
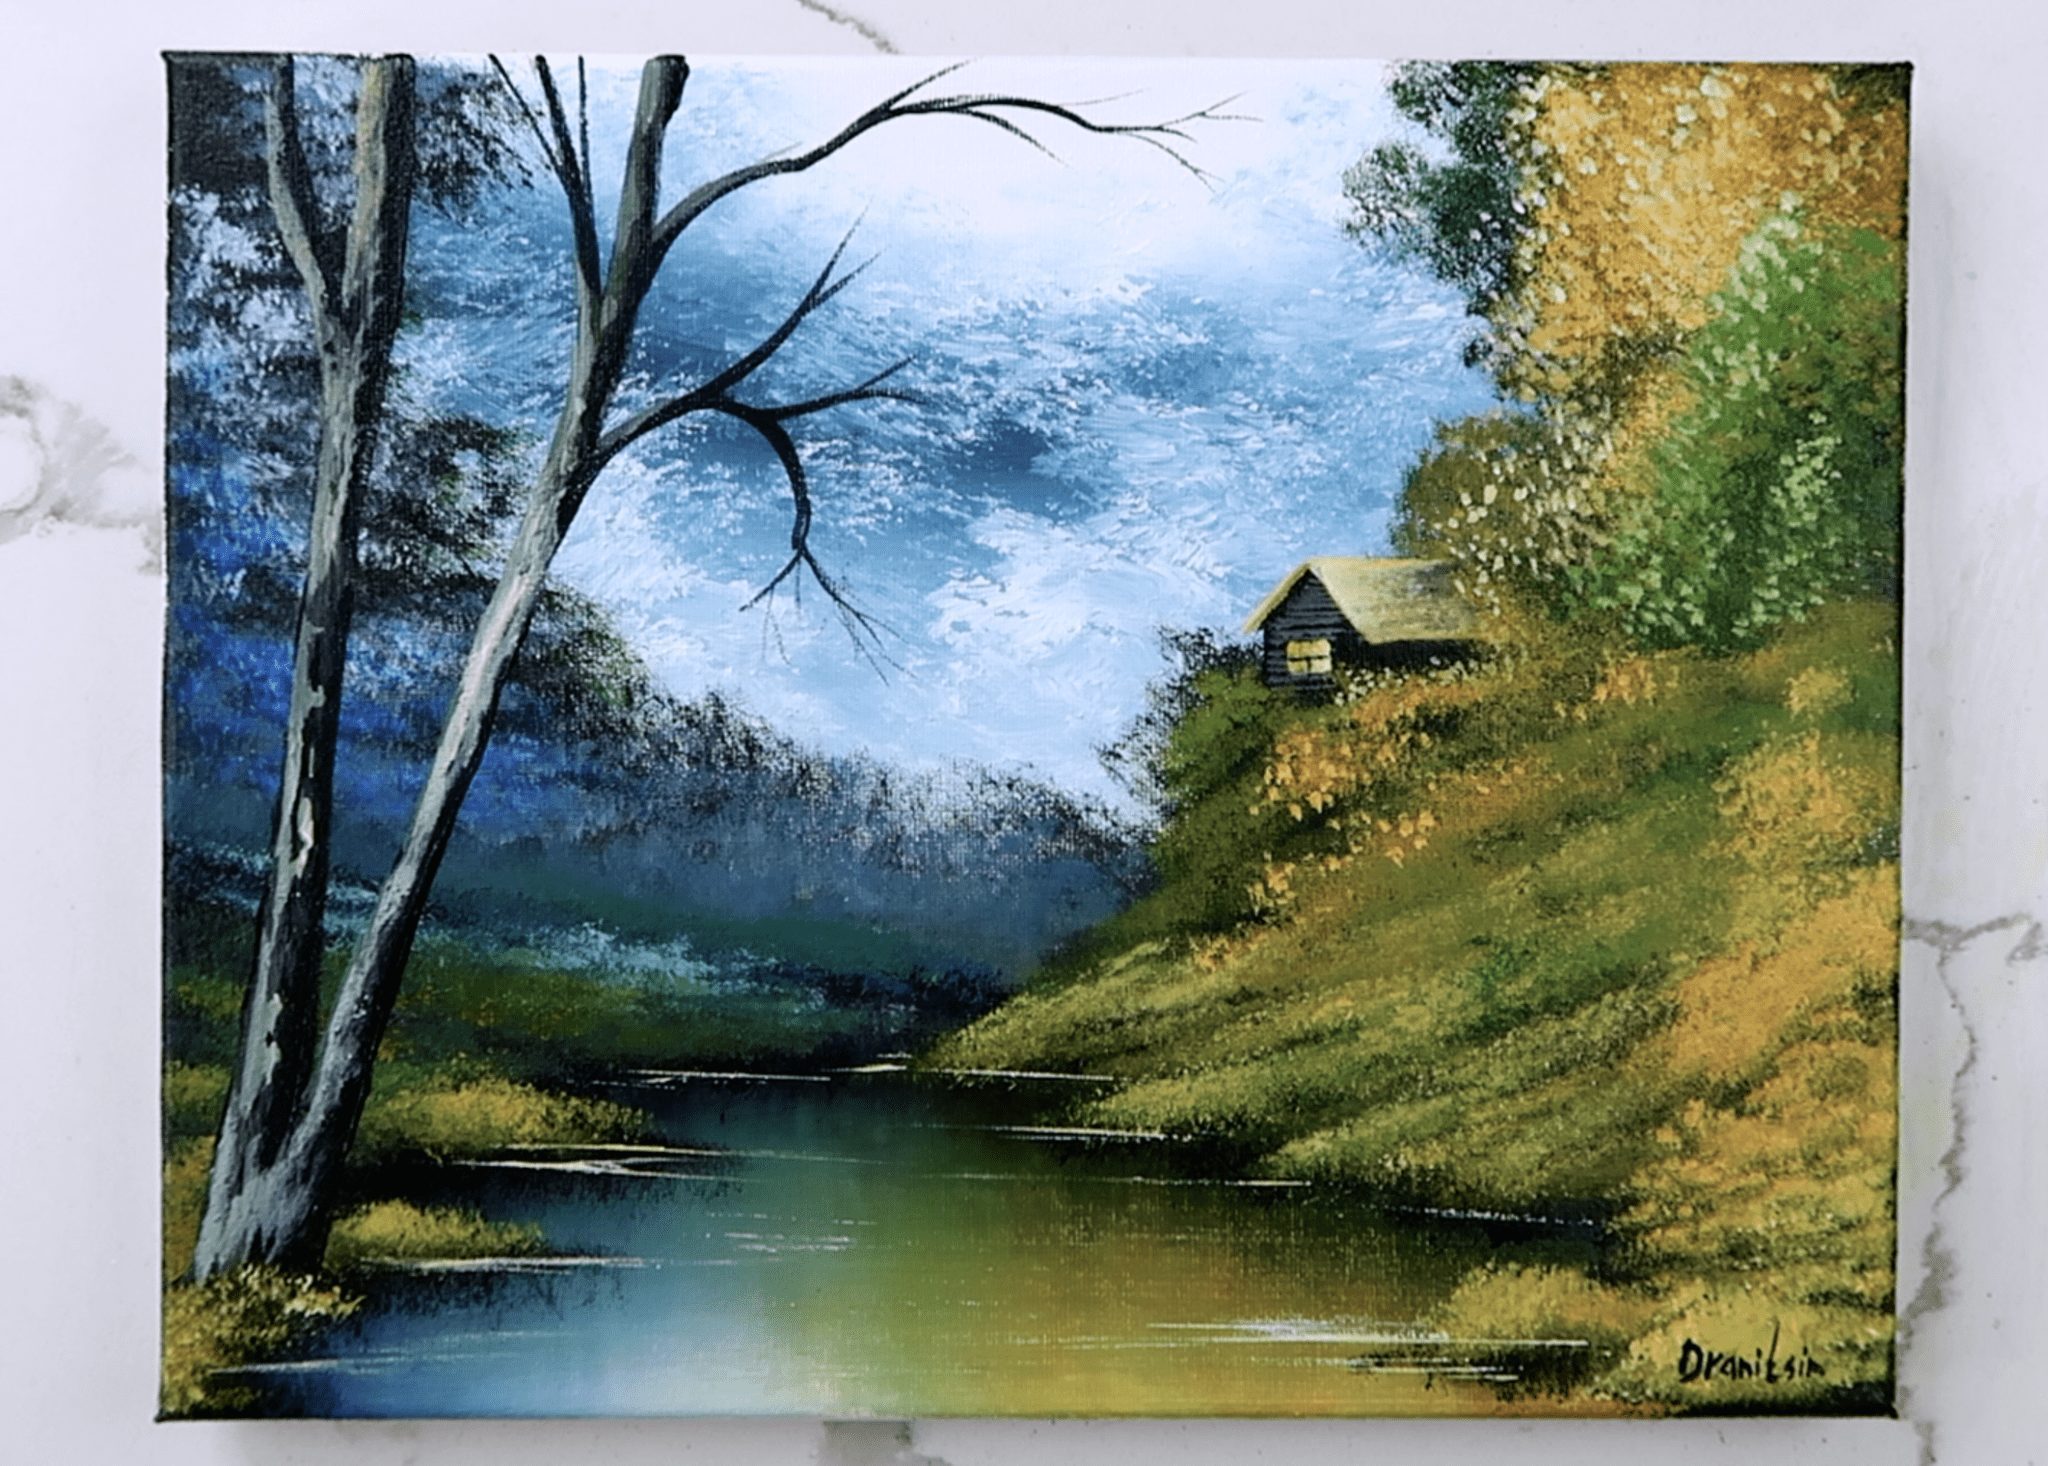
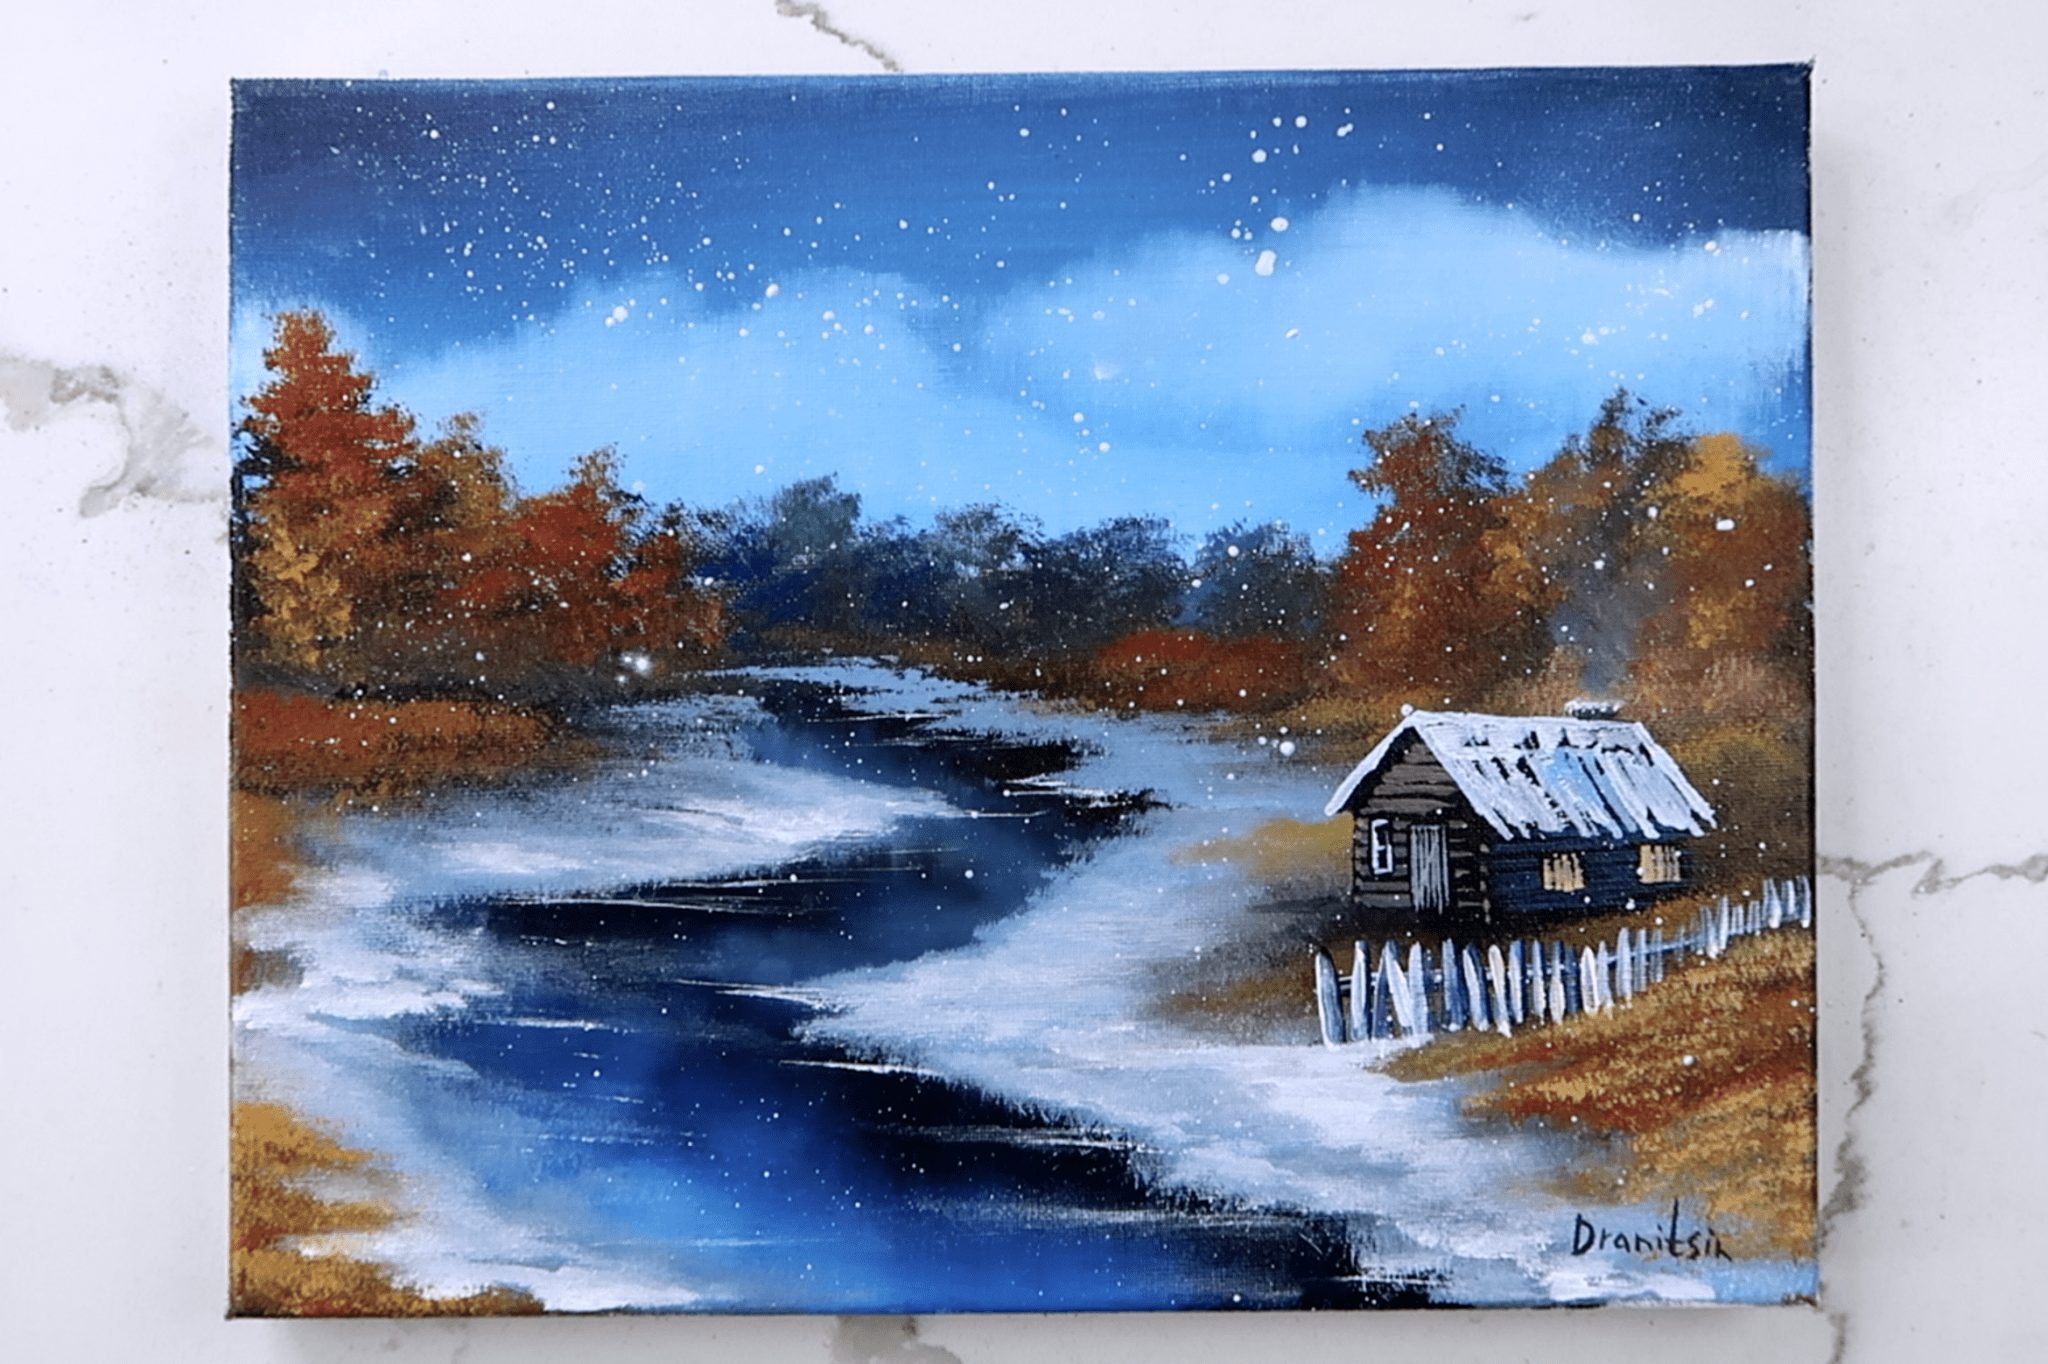
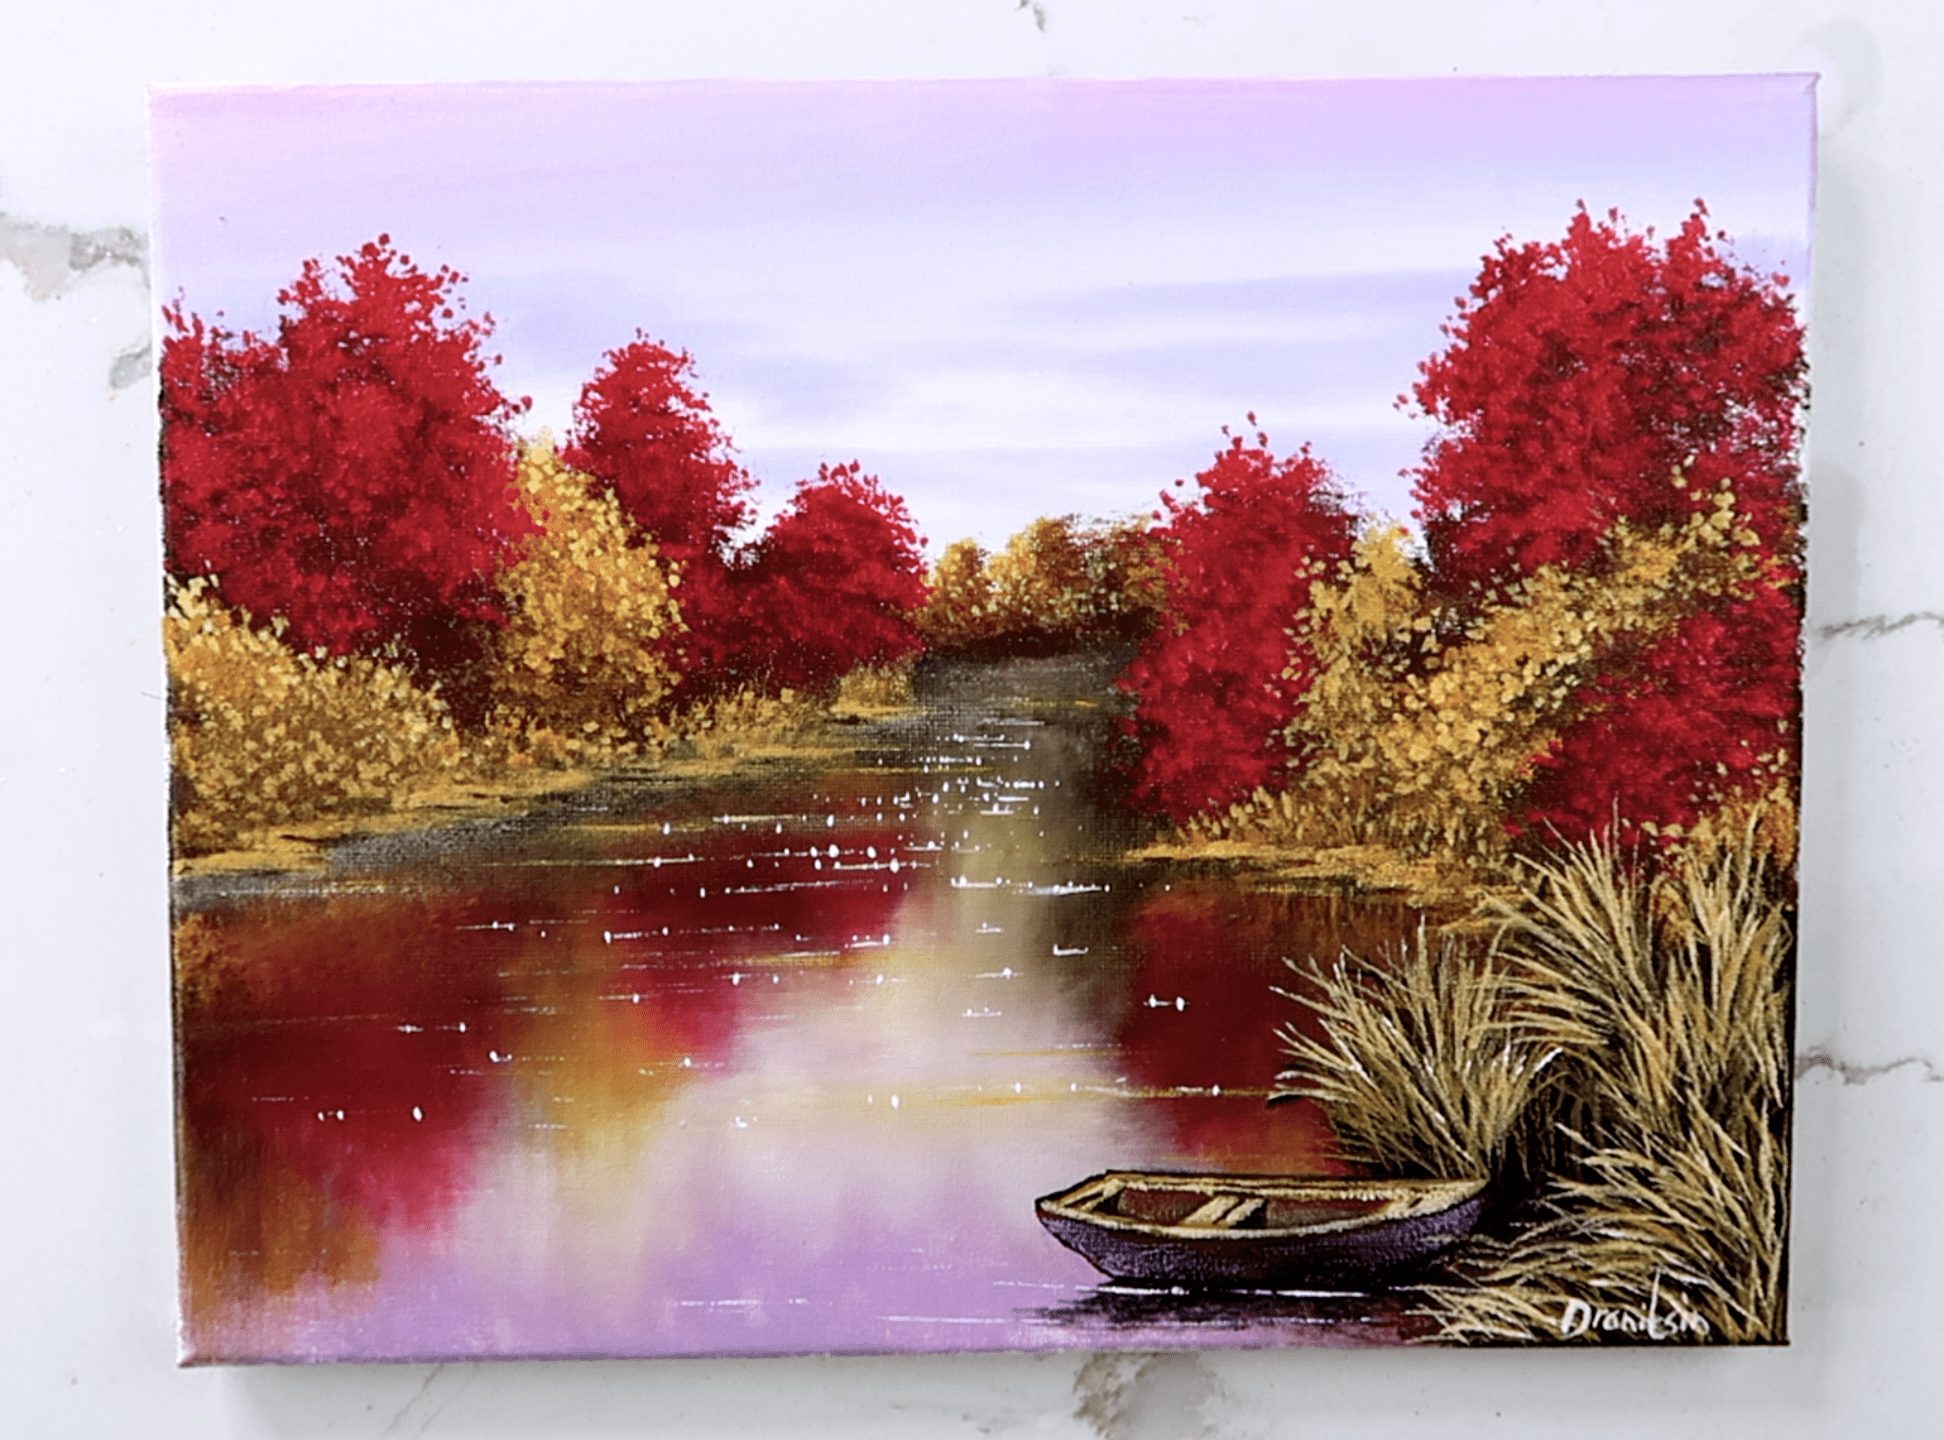
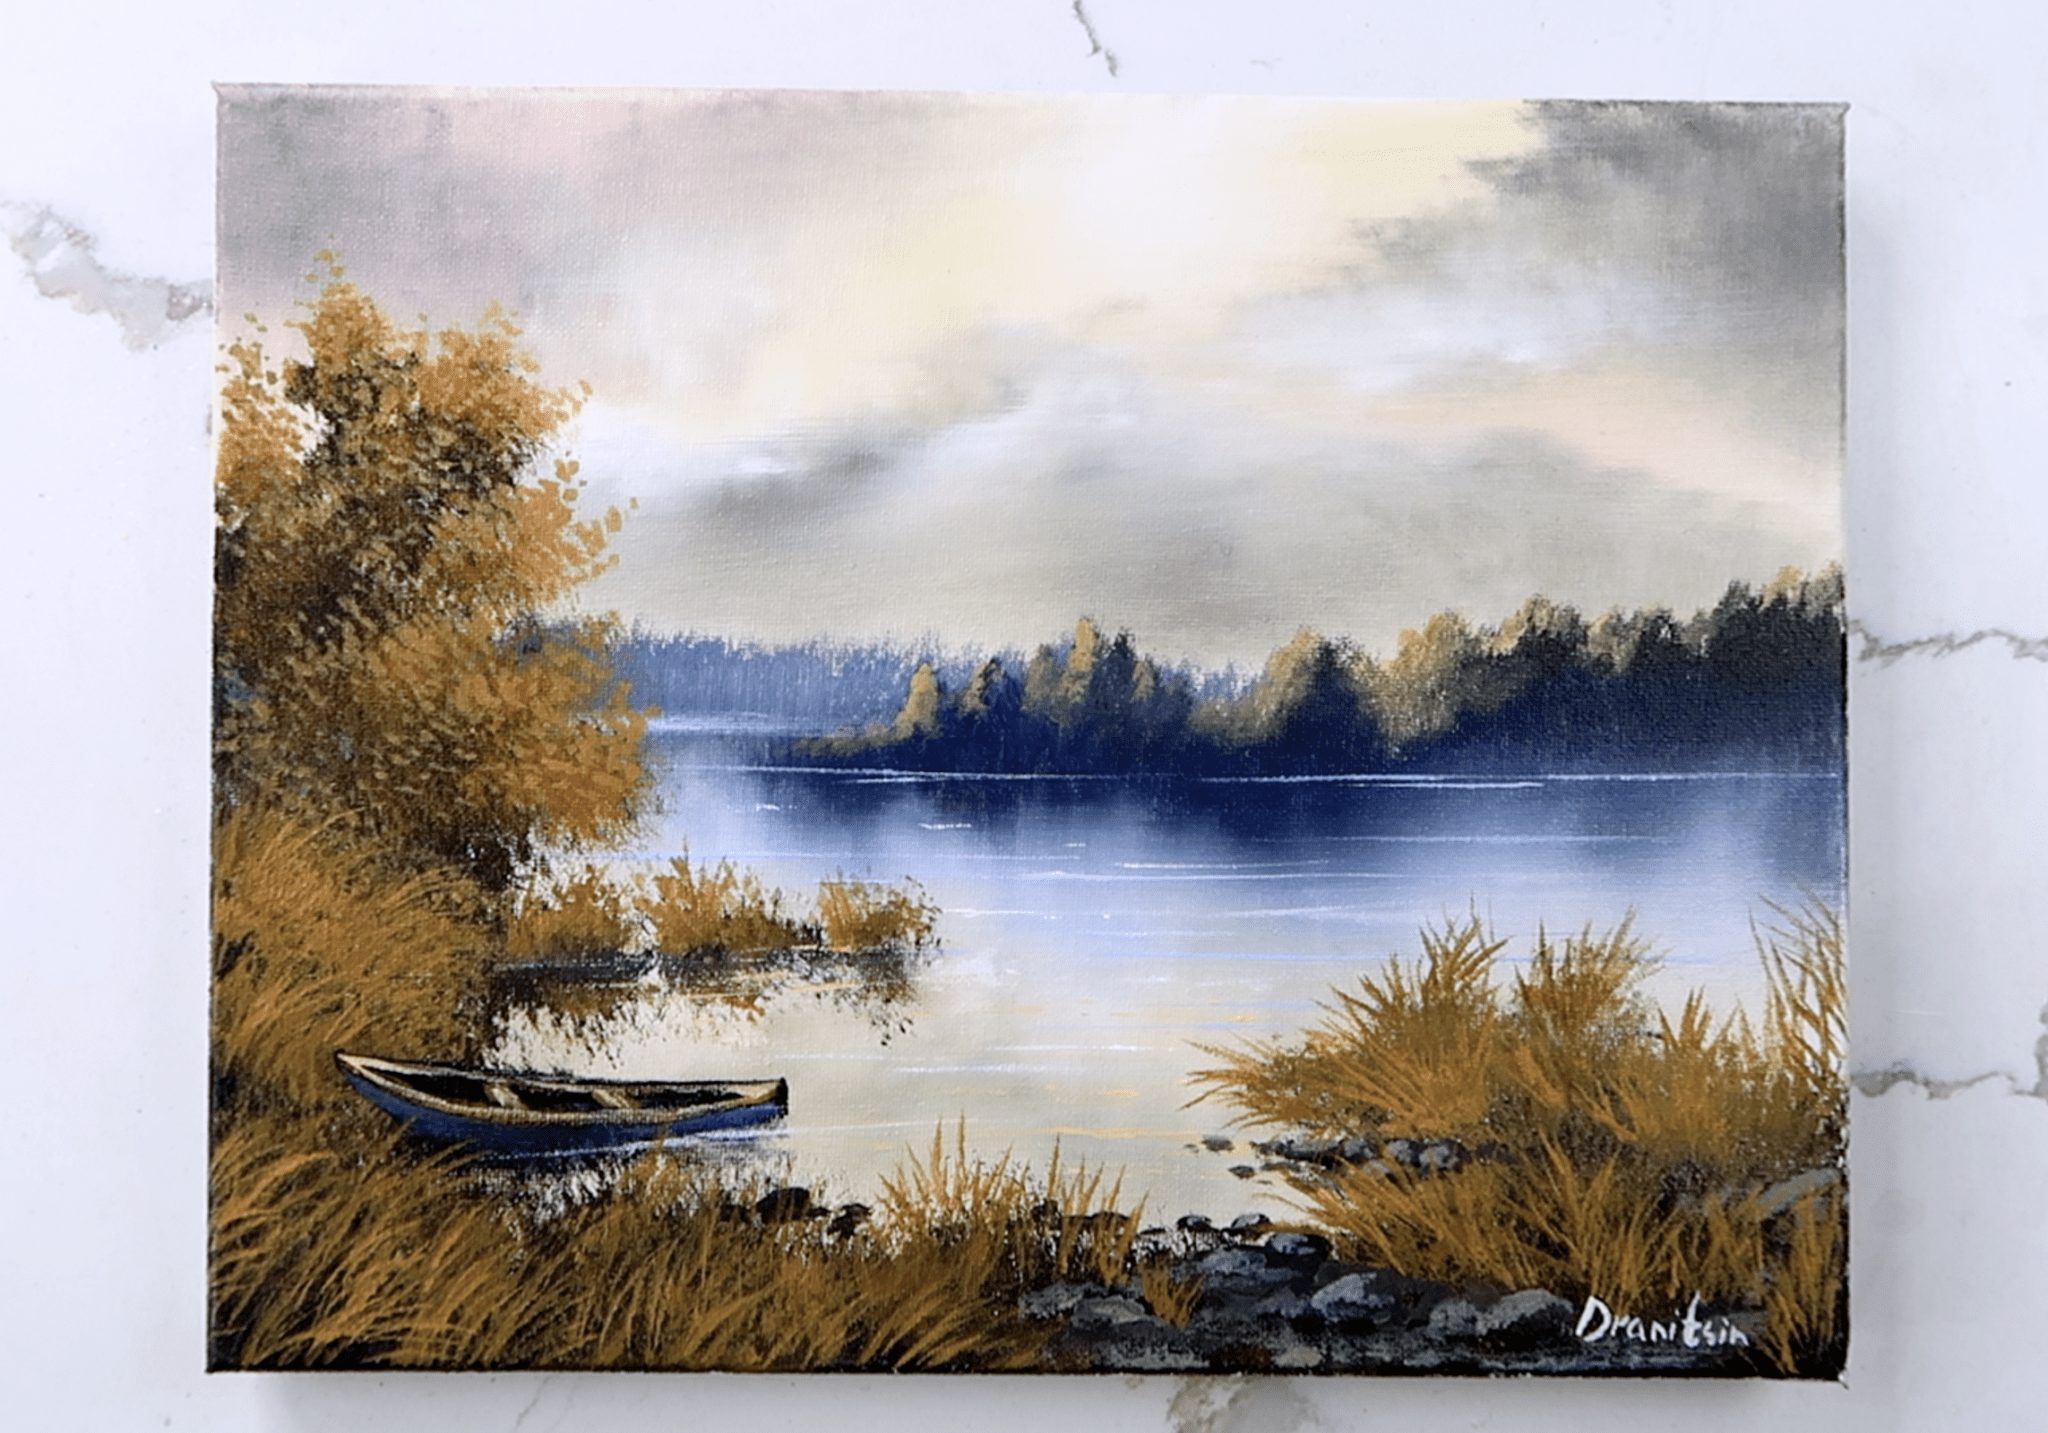
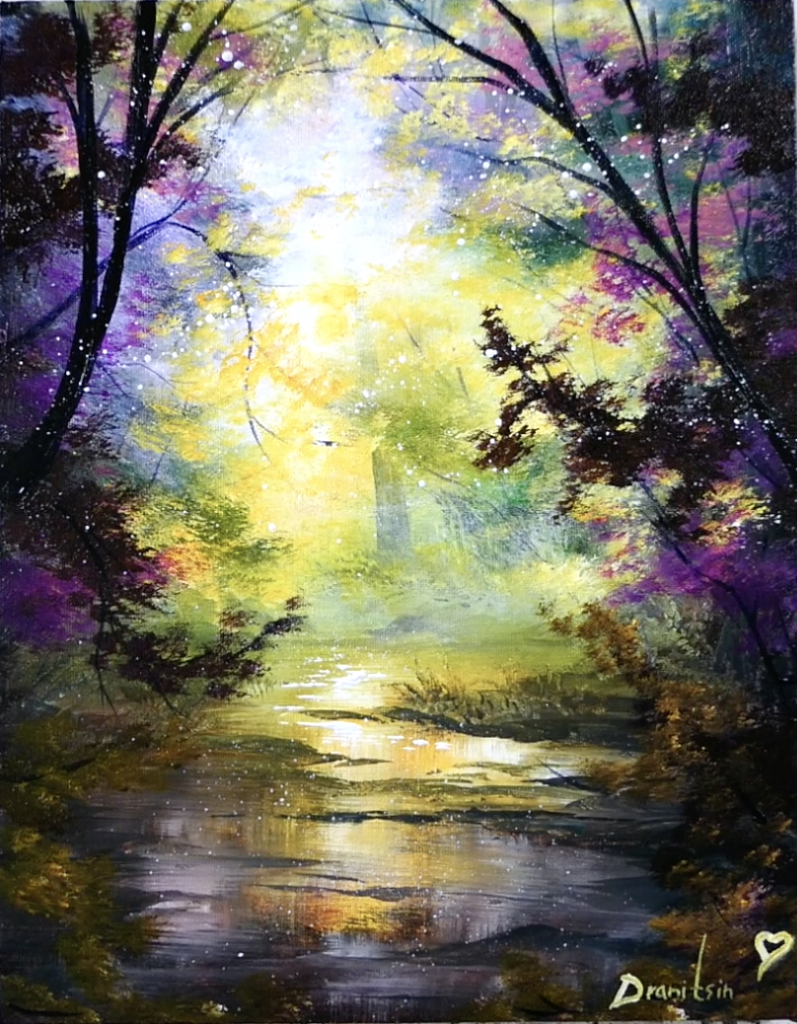
12 STEP CREATING BEAUTIFUL MISTY LANDSCAPE IN BRIGHT SUNSHINE
Transforming Your Landscape: A Step-by-Step Guide to Capturing the Beauty of a Misty Day in Bright Sunshine
Listen to the narration:
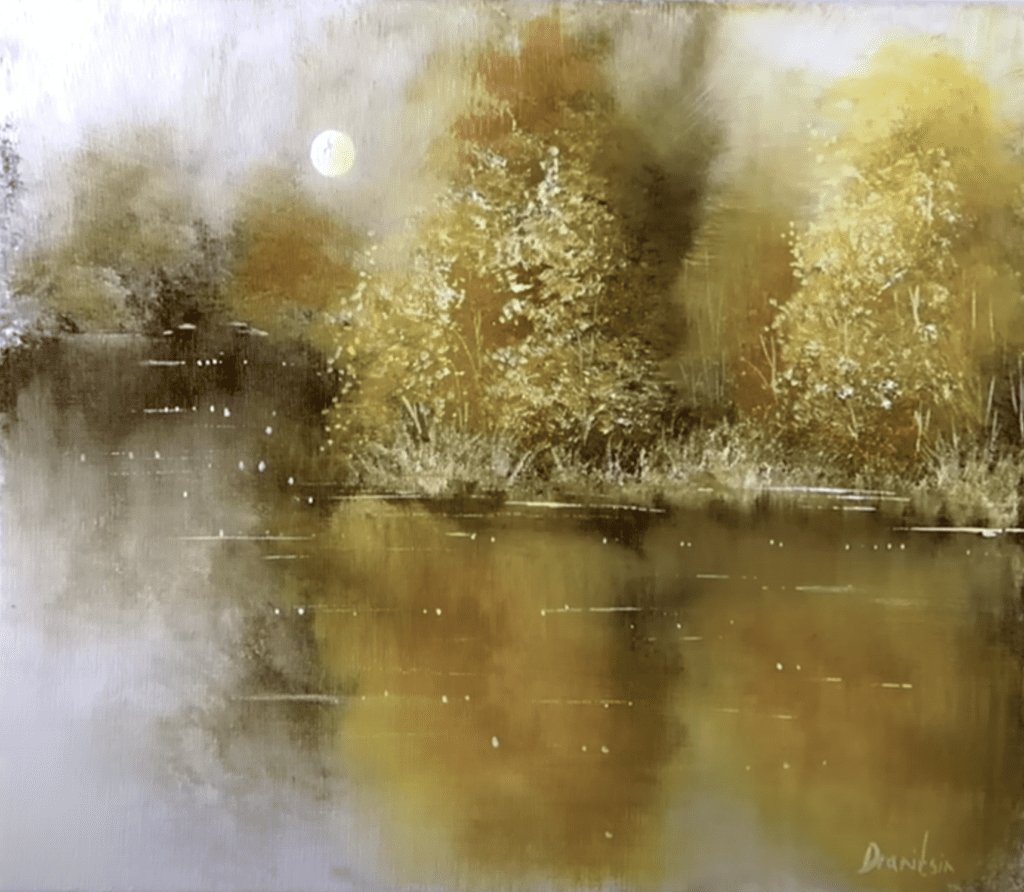
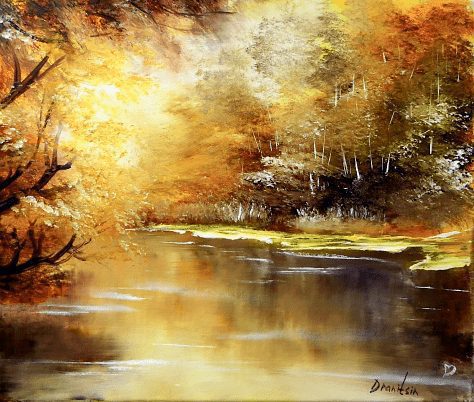
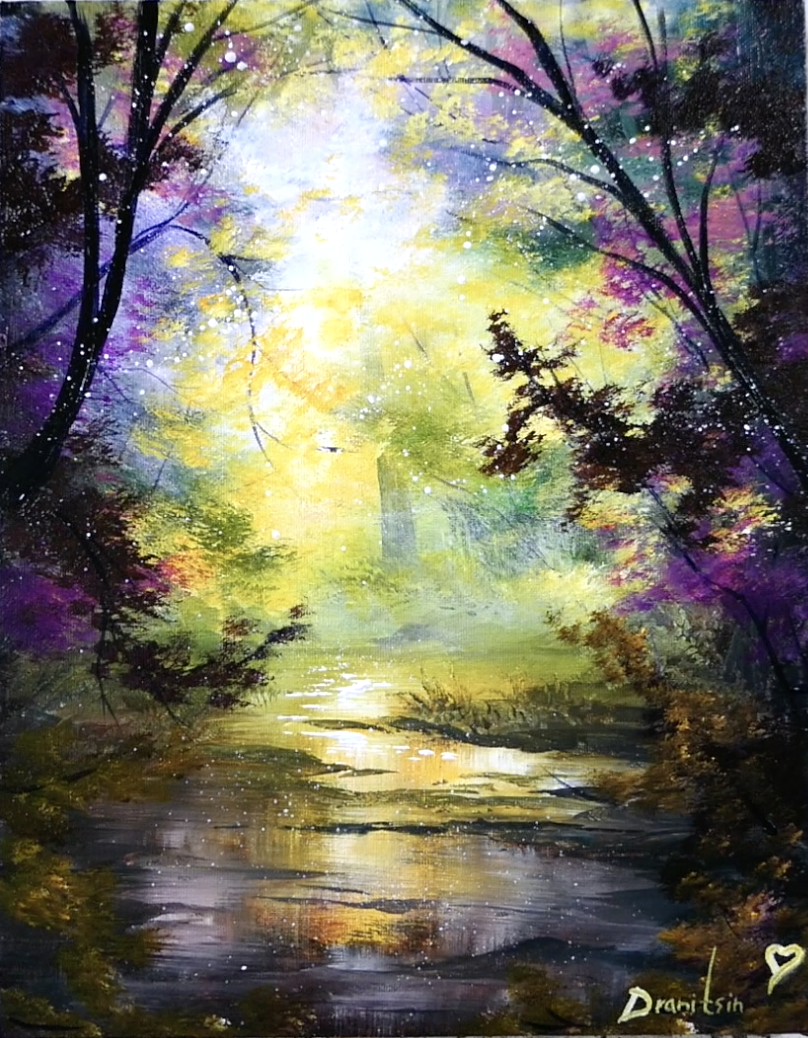
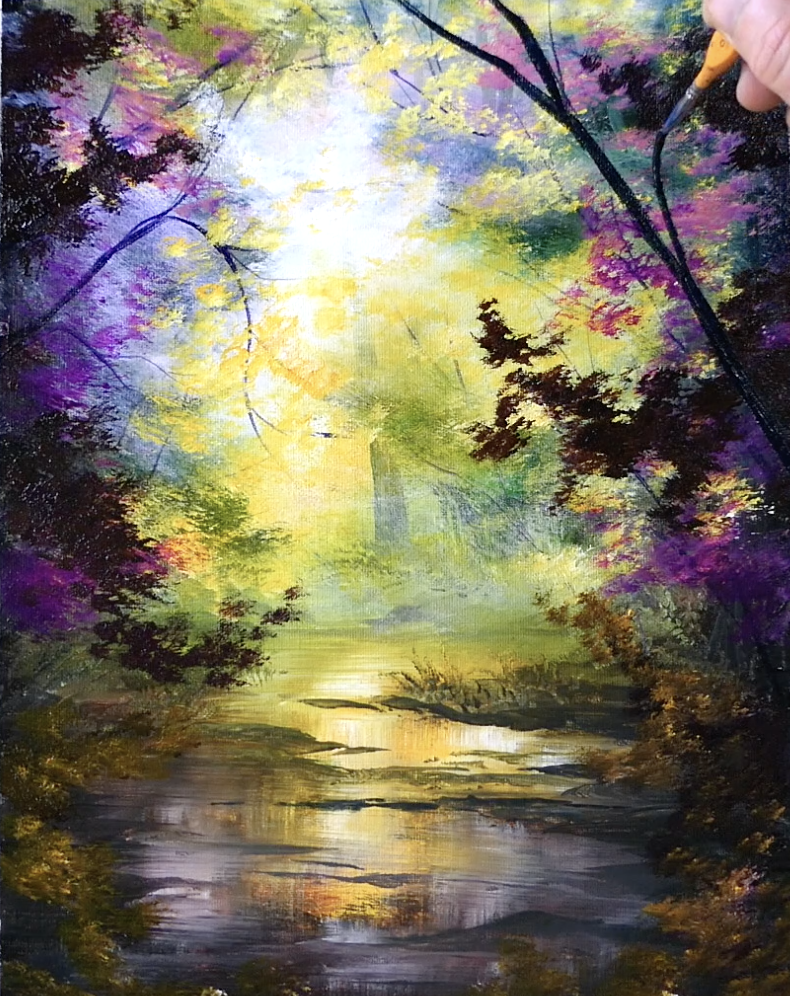
For all the aspiring artists out there, let’s embark on a creative journey together as we uncover the secrets to creating a stunning landscape painting. In this tutorial, we’ll explore the step-by-step process of capturing the ethereal beauty of a misty landscape illuminated by the warm glow of bright sunshine. So, gather your art supplies and let’s dive in!
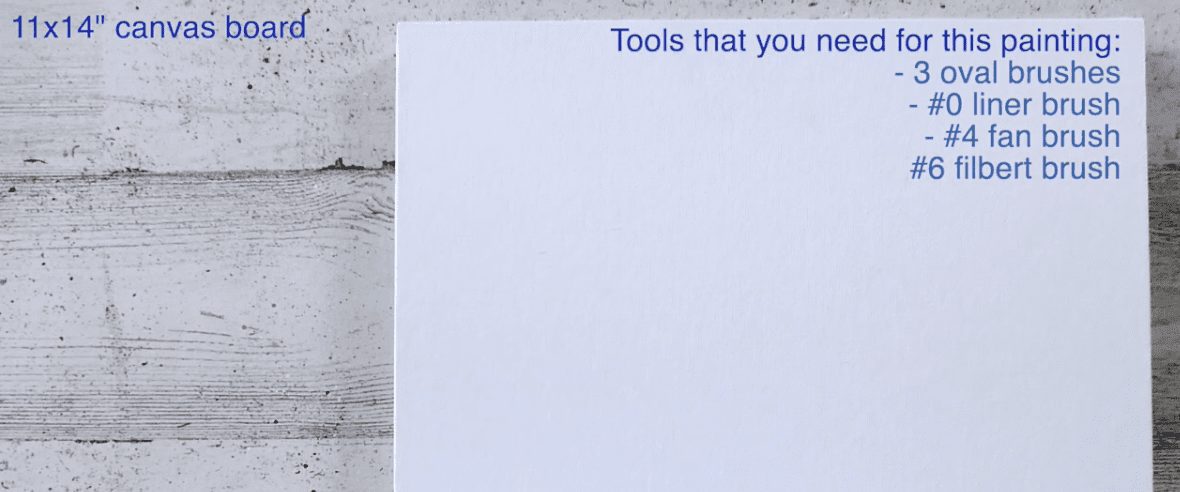
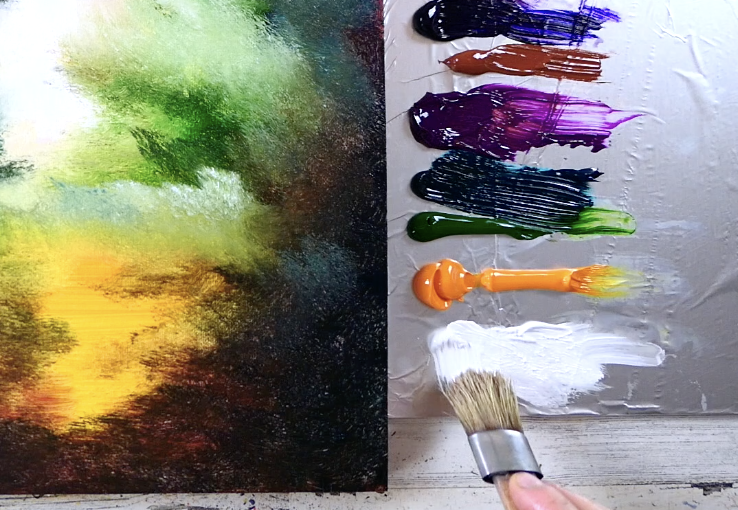
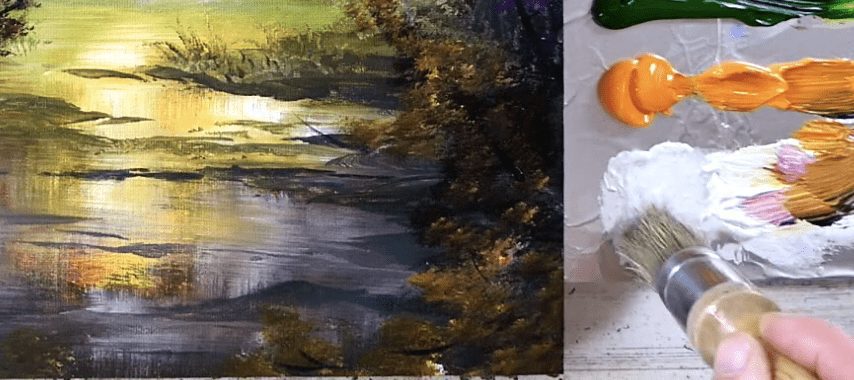
To bring this misty landscape to life on your canvas, you’ll need the following art supplies:
Discover a world of artistic possibilities with our comprehensive collection of acrylic paint brushes and tools, expertly curated for your creative journey. Designed to accompany and enhance our online art video tutorials, these brushes and tools are essential for every aspiring artist. Embrace the versatility and precision of our high-quality acrylic paint brushes, available in a range of sizes and shapes to suit any artistic style. From fine details to bold strokes, these brushes help you bring your visions to life with ease. With our handpicked collection of acrylic paint brushes and tools, unleash your inner artist and explore boundless creativity conveniently from the comfort of your home. Let your artistic dreams soar as you dive into our online art video tutorials, equipped with the finest brushes and tools that will undoubtedly elevate your artistic endeavors.
Medium:
- Acrylics
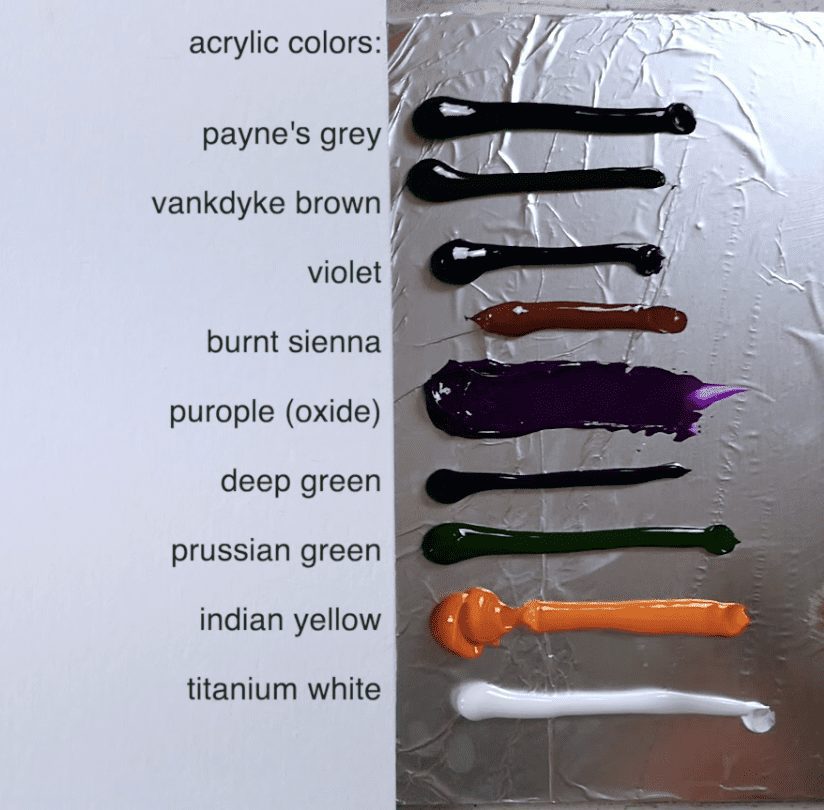
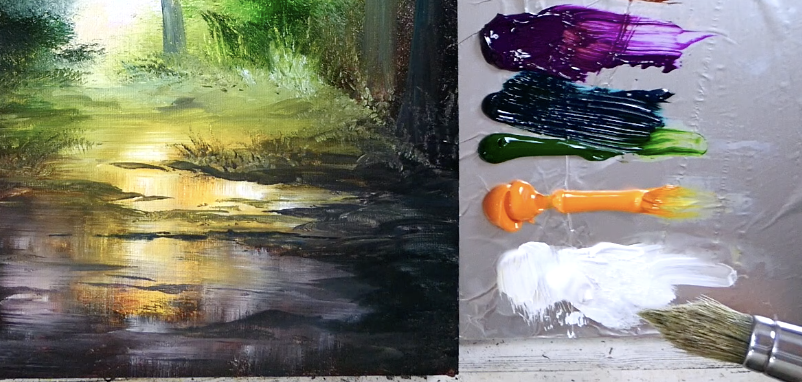
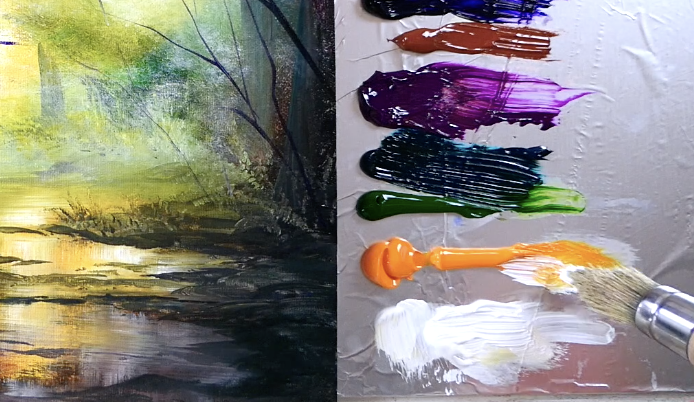
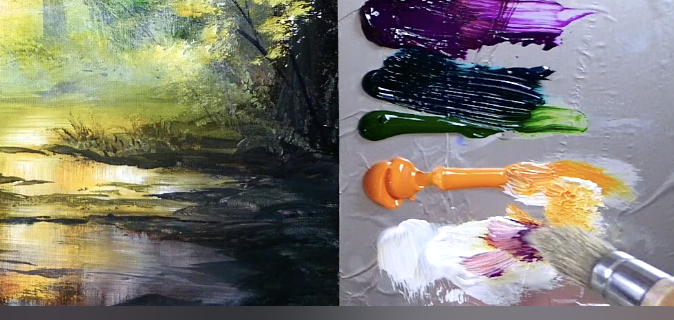
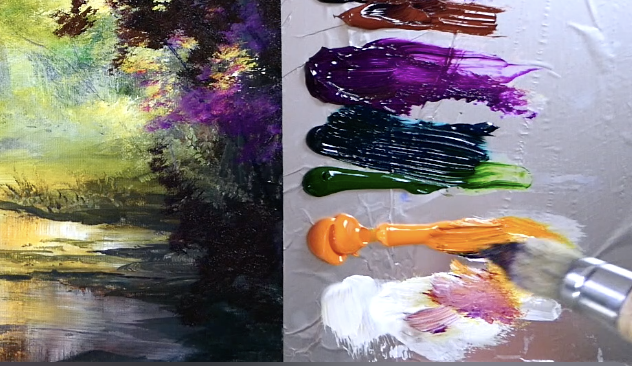
Colors:
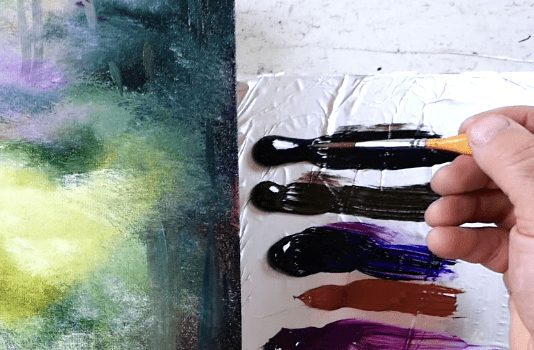
- Payne’s Grey
- Vandyke Brown
- Violet
- Burnt Sienna
- Purple (oxide)
- Deep Green
- Prussian Green
- Indian Yellow
- Titanium White
Equipping yourself with the right tools is vital for achieving the desired effects. Make sure to have these tools at hand:
- Oval Brushes (pointed and flat)
- #6 Filbert Brush
- #4 Fan Brush
- #0 Liner Brush
- Palette Knife
- Hair Dryer
- Bucket of Water
- Clean Cloth
Painting Tips Page:
- Ultimate resource for invaluable painting tips and techniques.
- Learn canvas preparation, color preservation, drying techniques, and more!
- Master brush selection and usage for breathtaking artworks.
- Join us at urartstudio.com for curated painting tips.
- Visit Our YouTube channel at https://youtube.com/pdranitsin to unlock your artistic potential.
Step #1: Preparing Your Canvas
Laying the groundwork for your masterpiece begins with proper canvas preparation. Position your canvas vertically on an easel or a flat working surface for easy access. To make acrylic paint smoother to work with, lightly mist the entire canvas with a small amount of water using a spray bottle. This step is particularly helpful for extending the drying time of acrylics. After misting, gently wipe away any excess moisture with a clean, dry cloth. The resulting subtle dampness will ensure your brushstrokes glide seamlessly, providing an ideal surface to begin painting.
Step #2: Creating the Source of Light
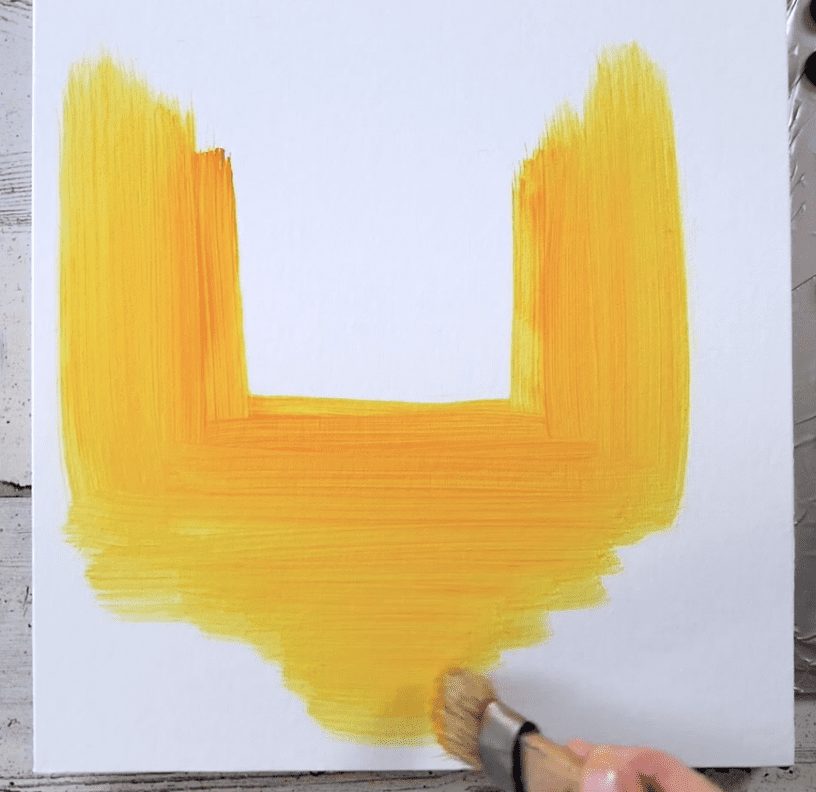
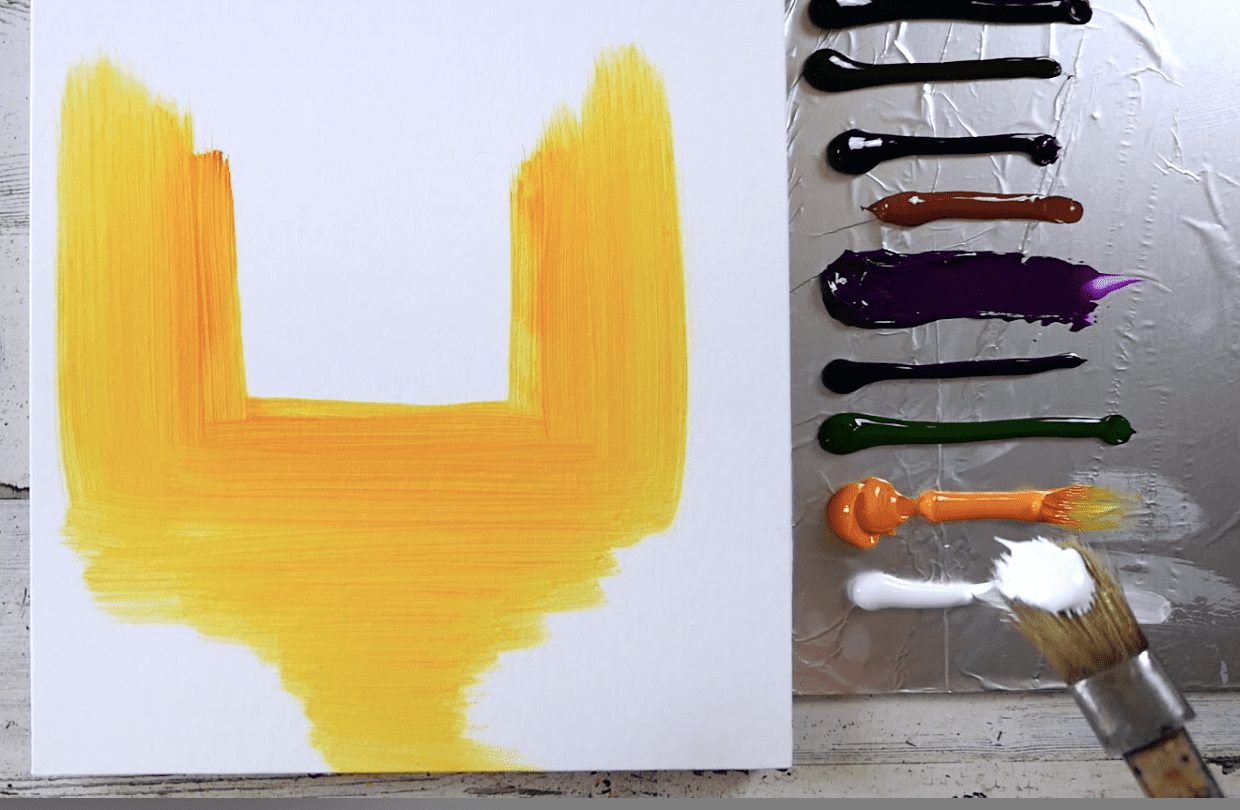
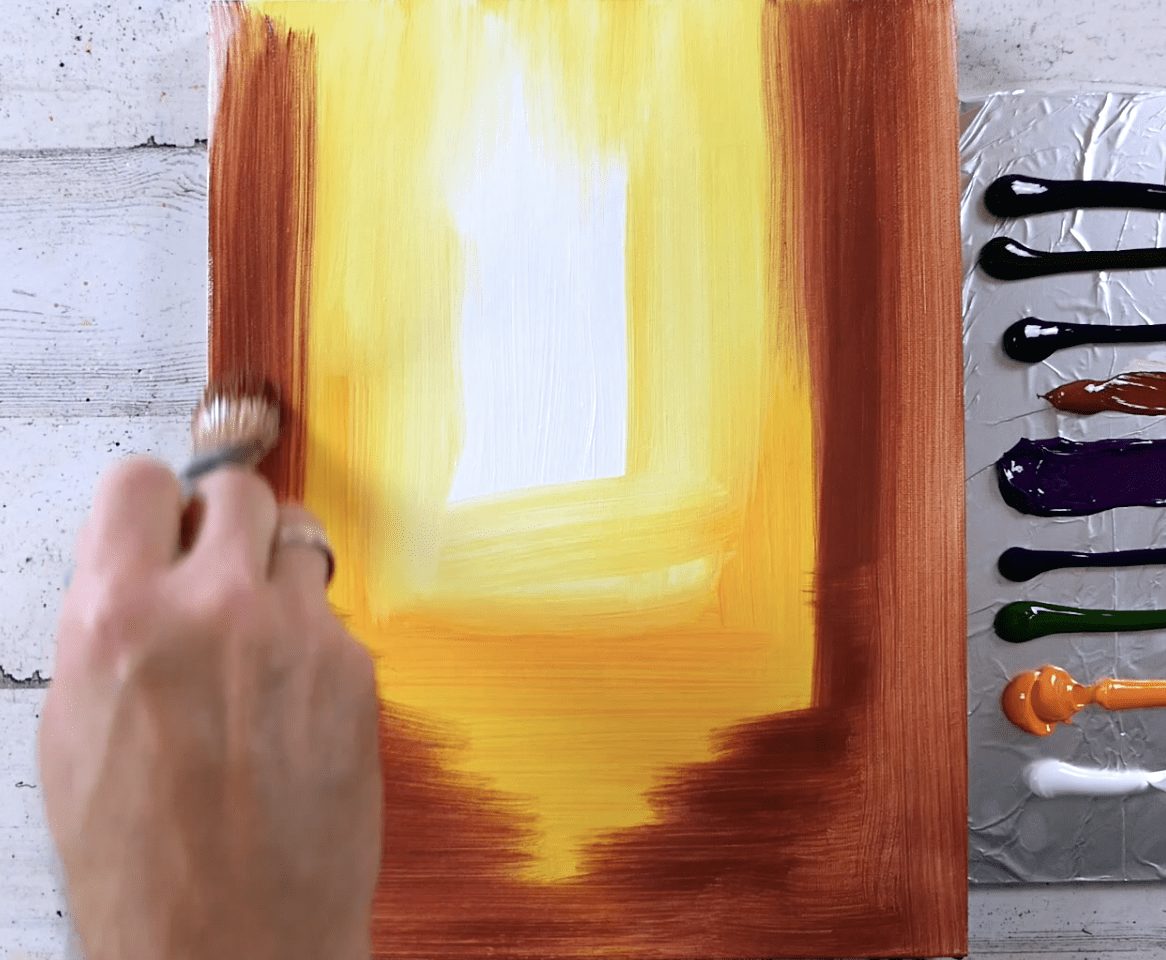
Every captivating misty landscape hinges on the interplay of light and shadow. Begin by establishing a radiant “light tunnel.” Start with the lightest shade—titanium white—and paint geometrical shapes that direct the eye toward a focal point, symbolizing the source of light. Gradually incorporate darker shades around it to create a soft gradient, layering the colors from lightest to darkest. Let the hues slightly overlap, forming a natural transition. Though precision isn’t critical here, aim for even spacing and keep the shapes loose. In the next step, you’ll smooth these edges, blending them into a glowing, dreamlike effect.
Step #3: Blending the Colors Smoothly
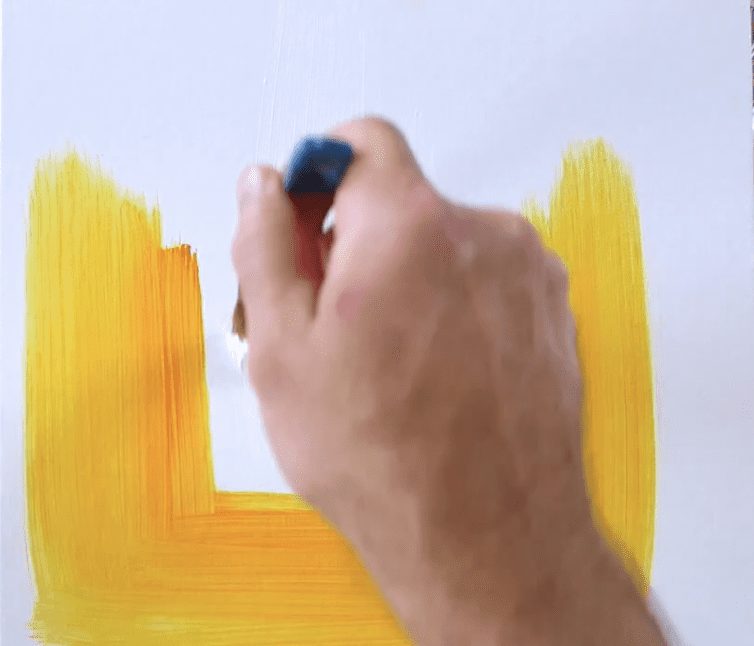
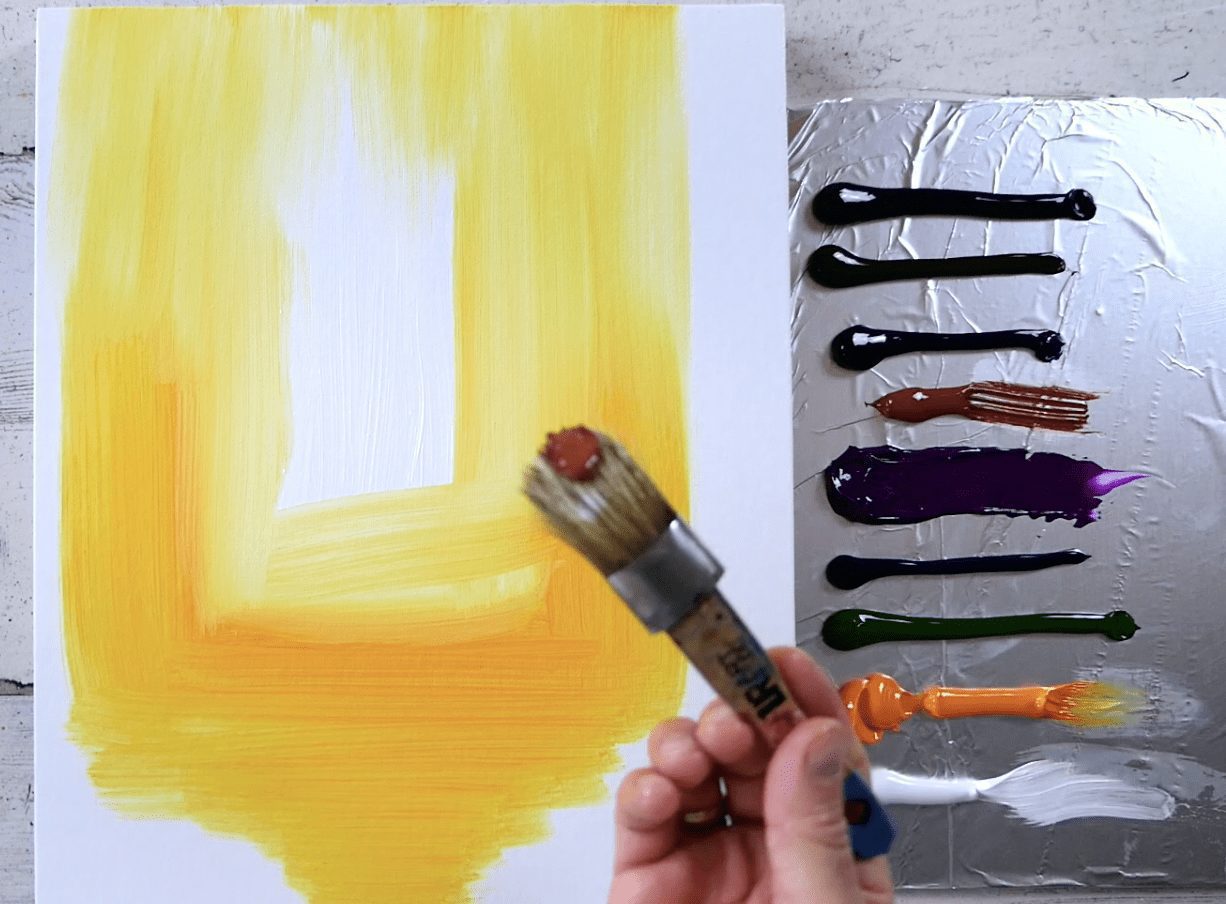
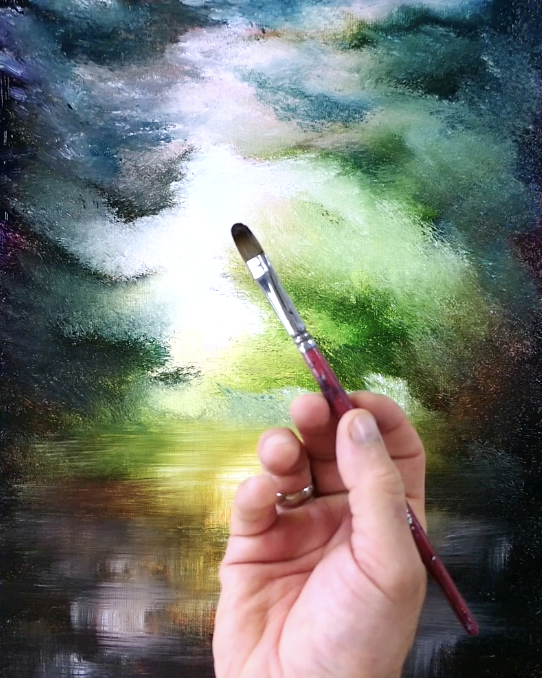
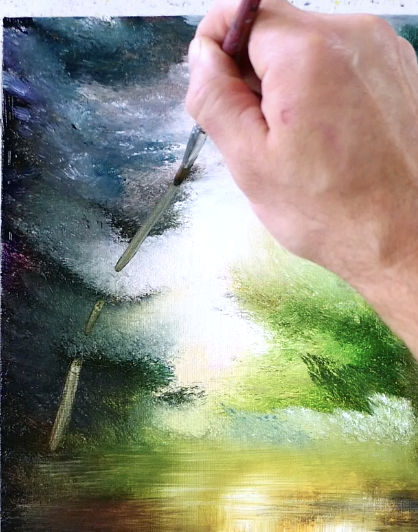
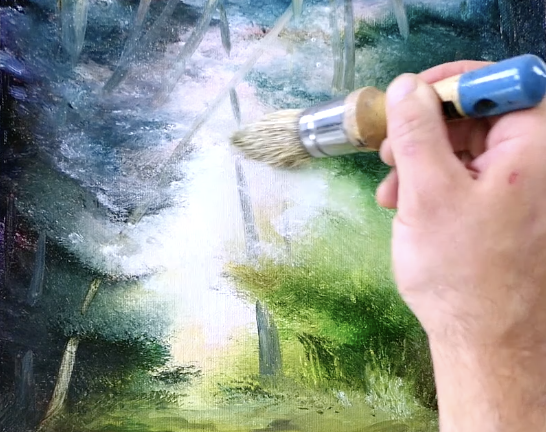
It’s time to transform harsh edges into soft, ethereal gradients through blending. Use a pointed oval brush for this step, as its shape lends itself well to delicate transitions. Employ light, circular motions to seamlessly merge the color layers, always starting with the lightest tones and moving outward toward the darker areas. Visualize the shapes of distant trees and mist as you blend—this will give character and depth to your background. Pay attention to the angles, especially near where you envision the closest layers of trees to form as you add details later.
Step #4: Adding Subtle Reflections
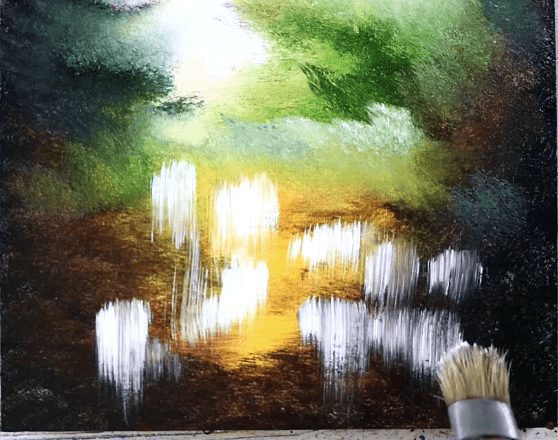
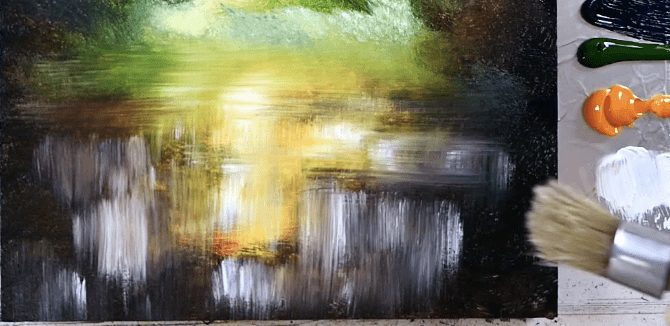
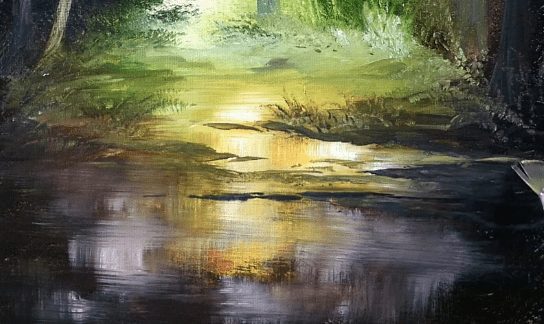
To evoke realism, introduce touches of light reflection into your landscape. First, establish a horizon line near the center of the canvas. Load a flat oval brush with titanium white and add vertical smudges of paint just below the horizon to mimic reflected light. Looking like slender streaks of brightness, these smudges lay the groundwork for water reflections. Next, rinse your brush, dry it thoroughly, and gently glide it horizontally over the smudges, blending them softly. This motion mimics the shimmer of light dancing on still water, pulling your audience deeper into the scene.
Step #5: Introducing Tree Trunks & Groundwork
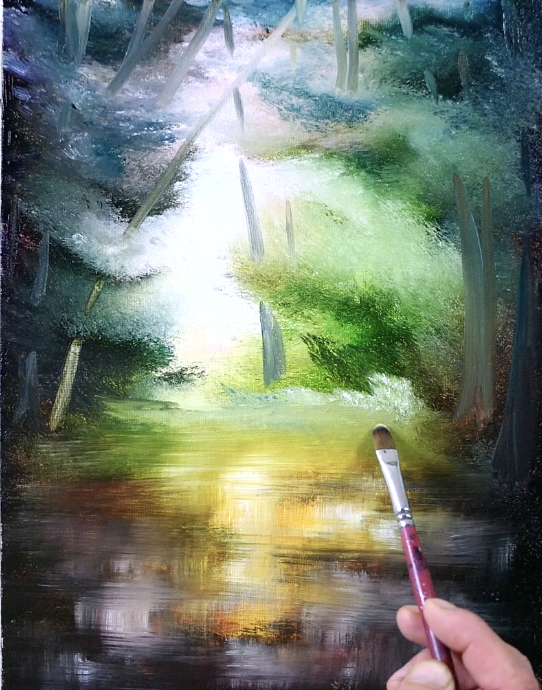
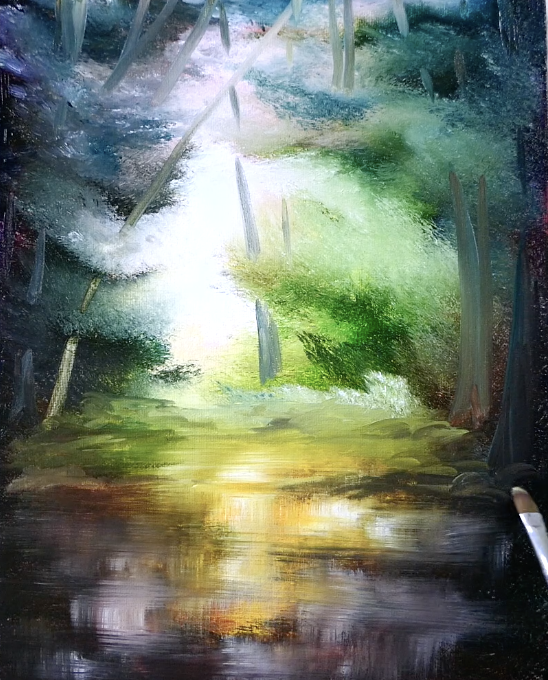
Now, bring the landscape to life by anchoring it with trees standing tall in the mist. Using a #6 filbert brush, lightly sketch distant tree trunks, building dimension. This step doesn’t require adding additional paint as the wet background works to your advantage. Place the trunks sparsely to maintain balance and avoid overcrowding the space. Once your trunks are established, transition to crafting the land beneath the trees. With gentle left-to-right strokes, sculpt the contours of the terrain, allowing the brush to hint at hills, slopes, and natural curves.
Step #6: Creating Grass Textures
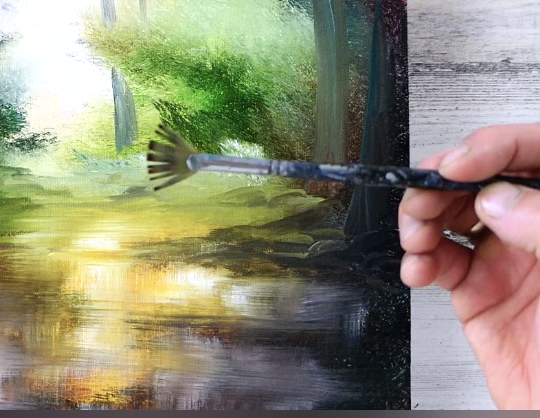
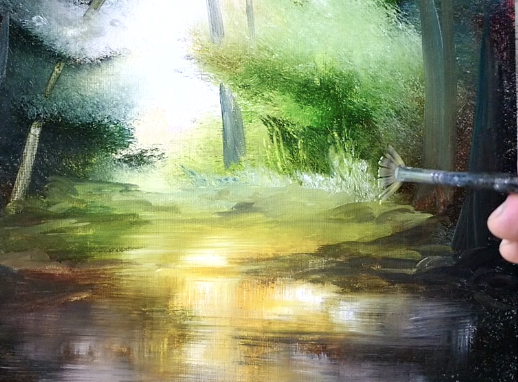
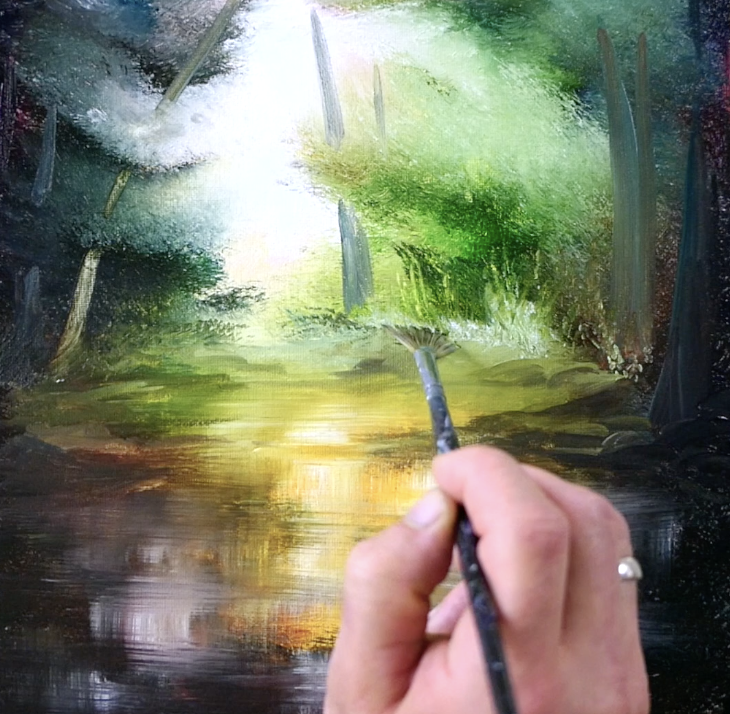
Texture and movement come alive with the addition of grass. Reach for your #4 fan brush to paint blades of grass “sprouting” naturally from the freshly painted land. Using paint already on the canvas, let the bristles dance upwards in quick strokes, creating fine, organic strands. Vary the height, direction, and spacing of the blades to suggest realism and subtle wind movement. This touch adds a lively, textured element to your piece.
Step #7: Drying Your Painting
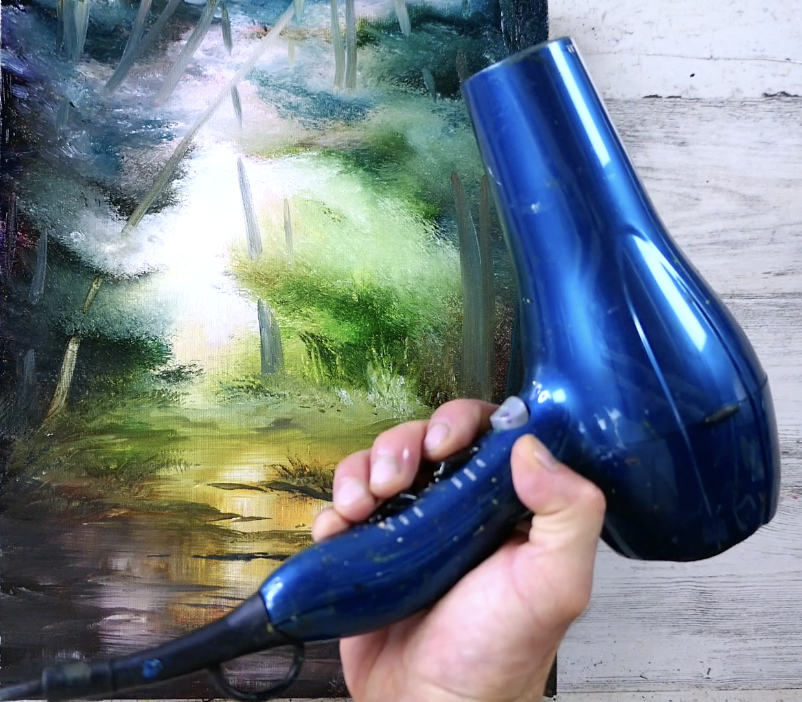
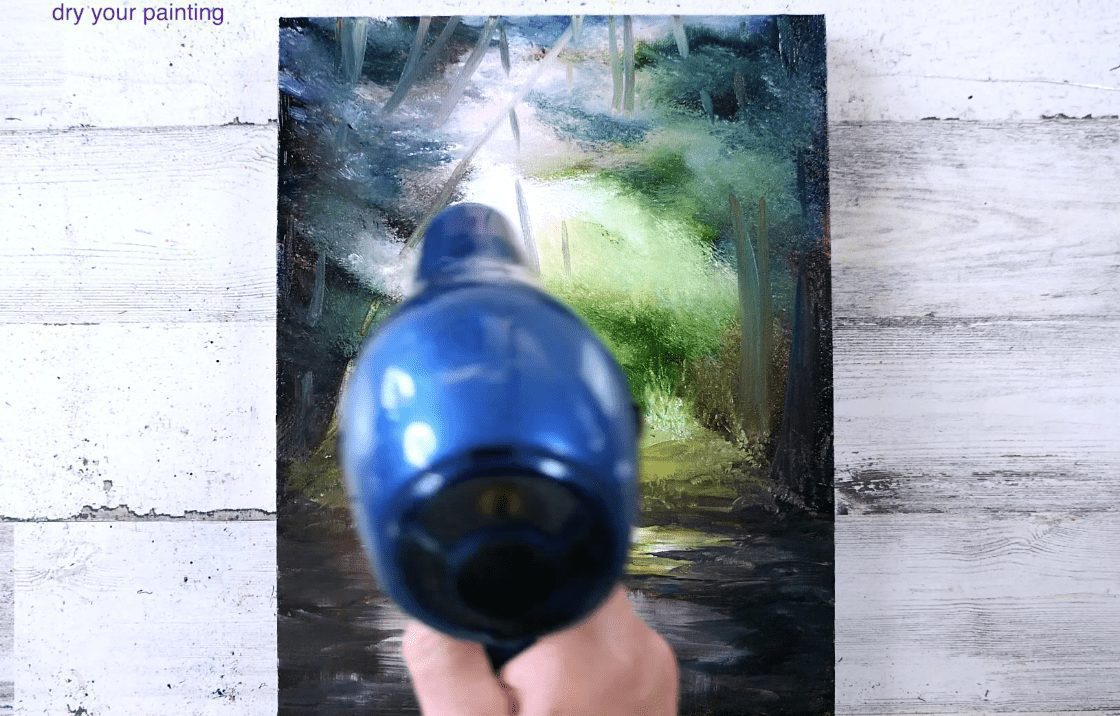
With the foundational layers complete, it’s critical to protect and preserve your progress. Use a hairdryer set to low heat to thoroughly dry all painted areas. This ensures the surface is prepared for additional layers and details without unwanted smudging.
Step #8: Enhancing with Background Glows
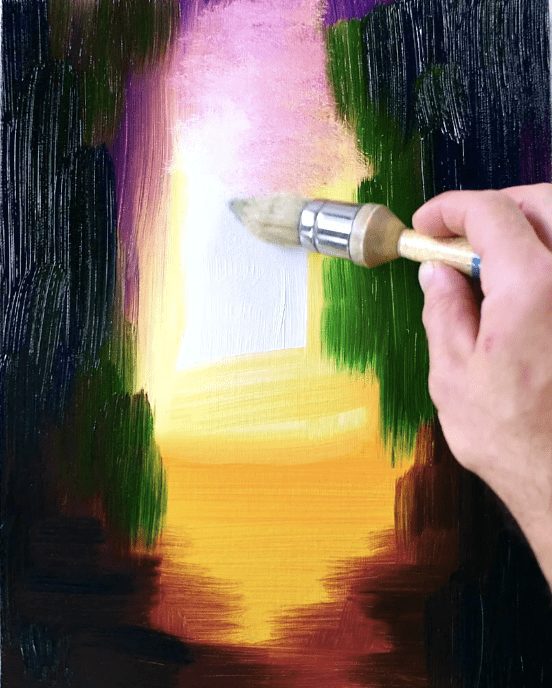
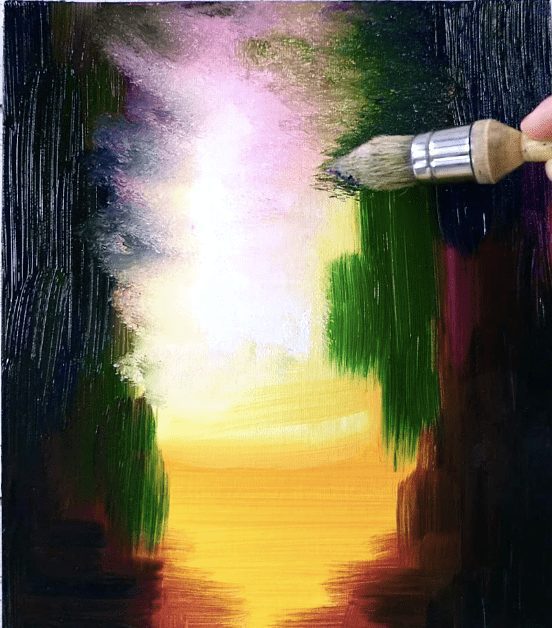
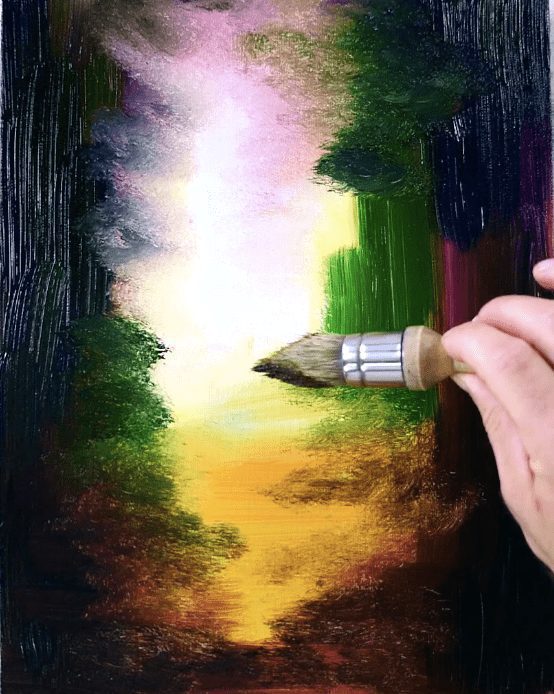
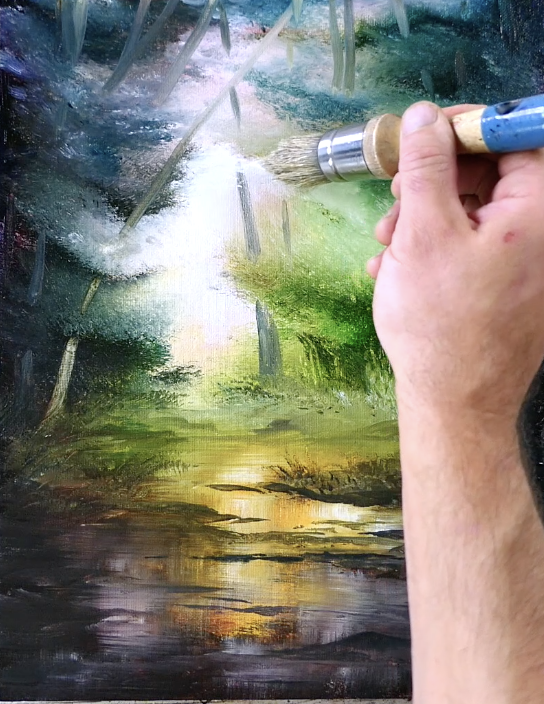
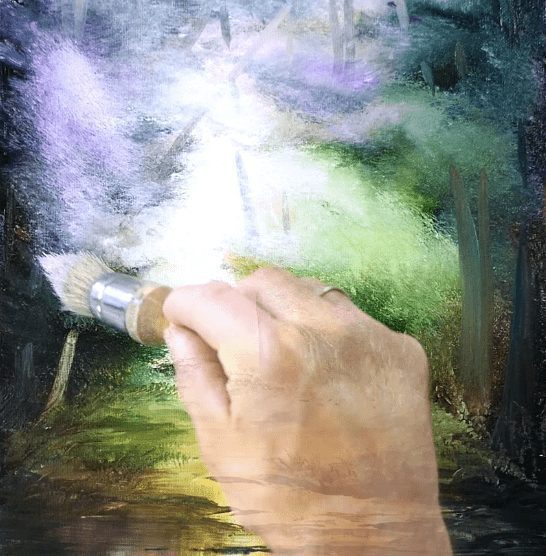
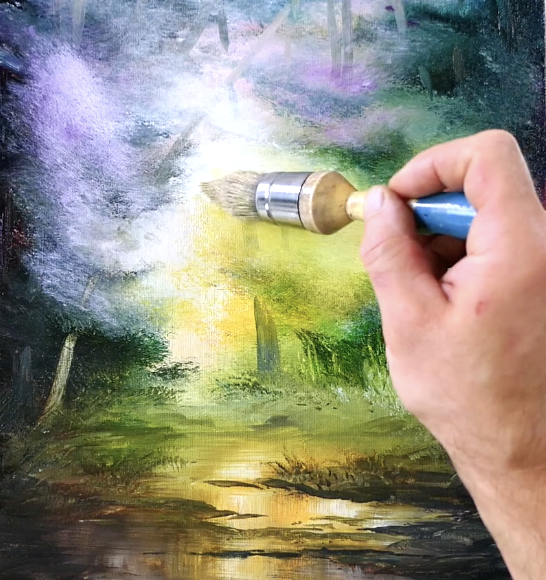
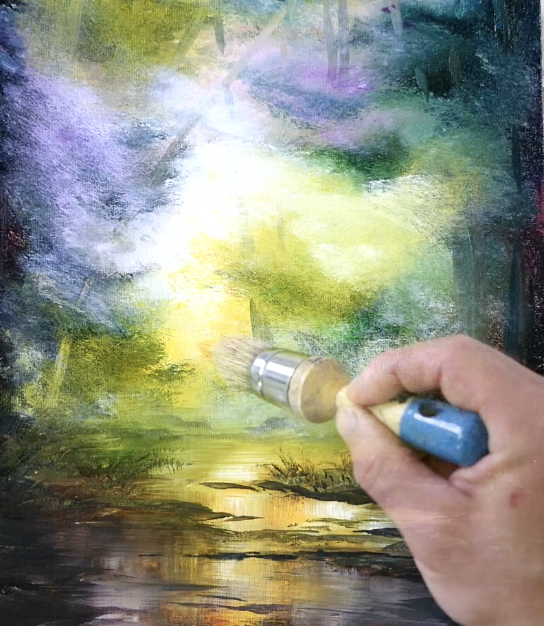
The dry canvas allows for the magic of illumination. Using a clean pointed oval brush, dip it in water and gently shake off any excess before loading it with watered-down titanium white paint. Starting from your original source of light, apply light circular brushstrokes to intensify the glow. Gradually incorporate other bright, diluted shades like Indian yellow or purples mixed with white. These whispers of color should remain subtle, mainly concentrated in the painting’s upper section to preserve the ethereal atmosphere. Blend softly to ensure no harsh lines break the harmony.
Step #9: Adding Trees and Branches
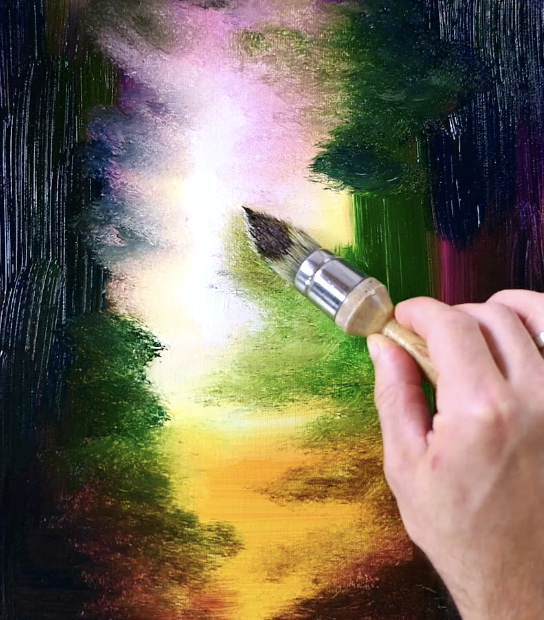
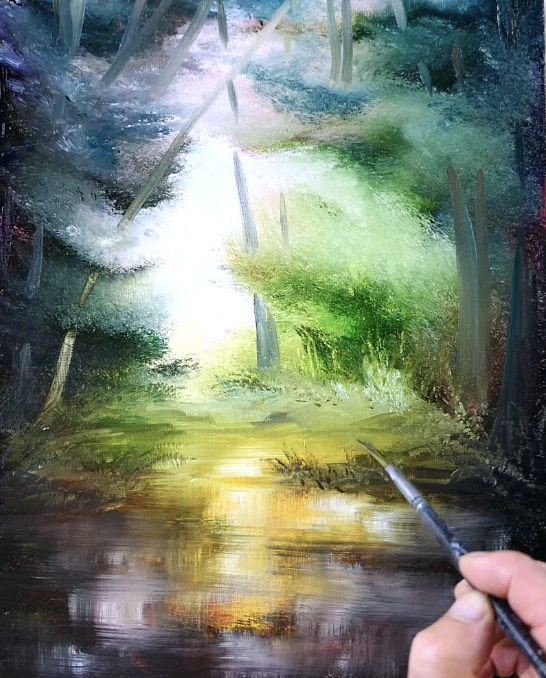
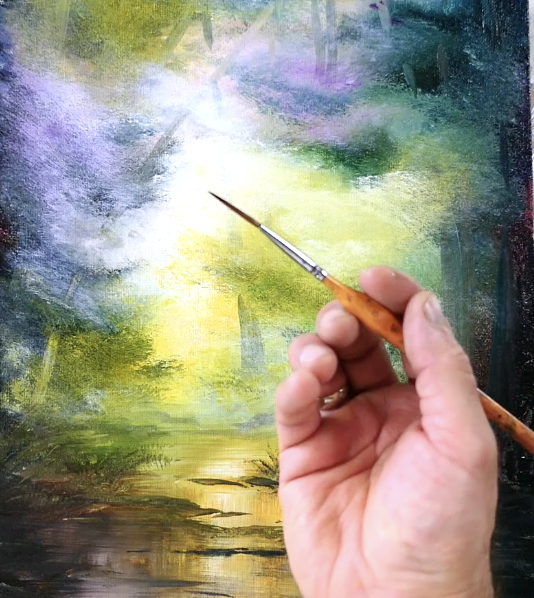
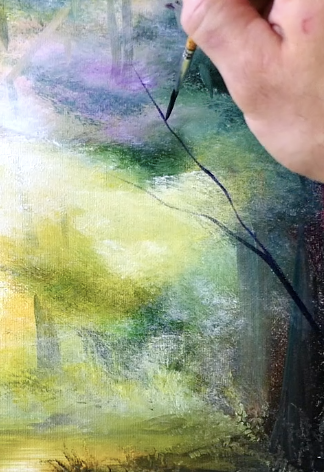
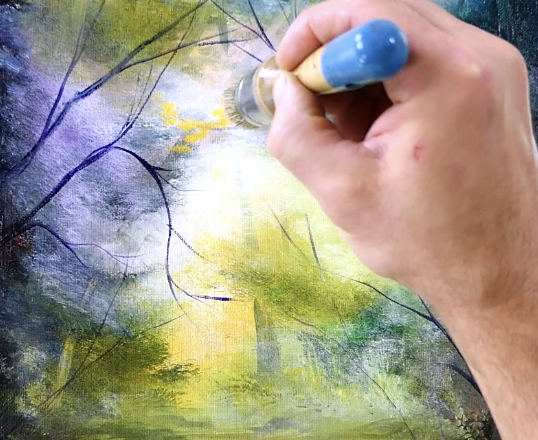
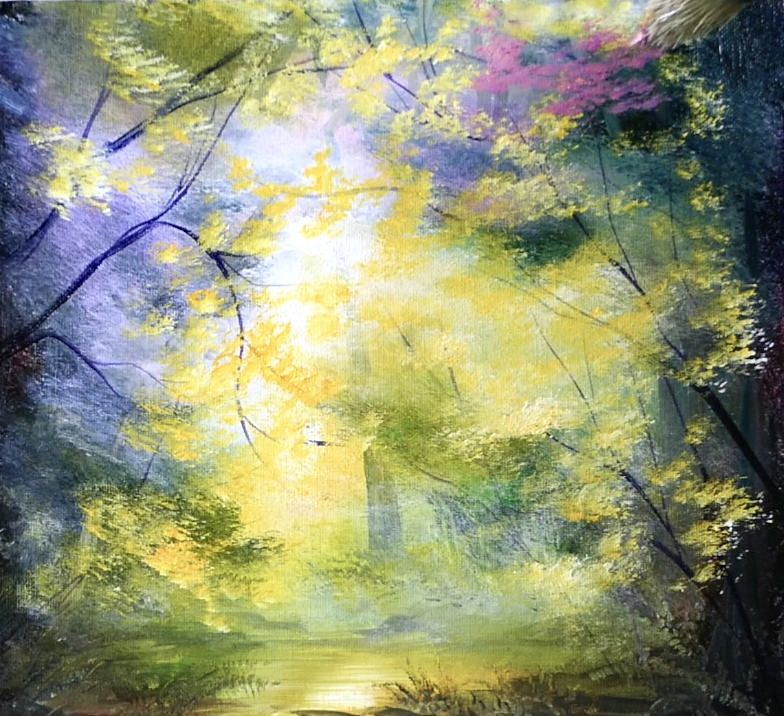
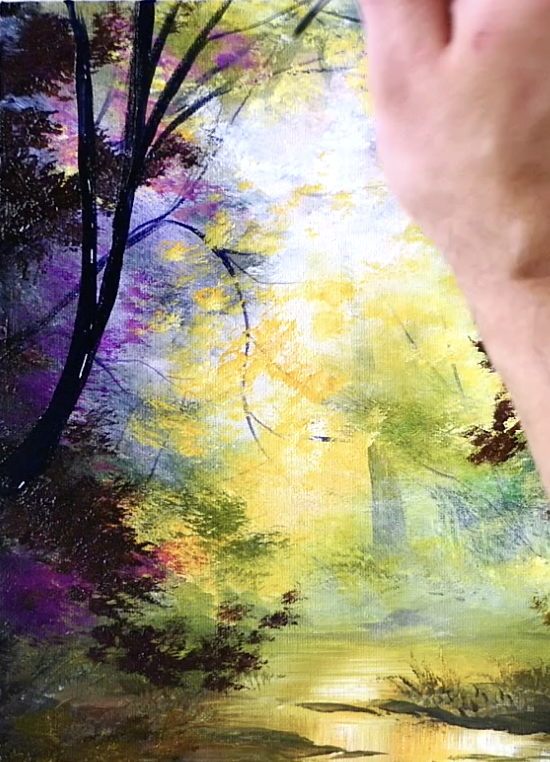
Bring the foreground to life by painting prominent trees and branches using a #0 liner brush and Payne’s Grey acrylic paint. Starting from the edges of the canvas, slowly guide the brush inward, outlining tree trunks and sprawling branches. Allow the branches to overlap different layers of the background to create depth, but avoid overcrowding—simplicity can often be more powerful. Let some branches fade into the light glow to heighten the sense of mist and distance.
Step #10: Adorning with Leaves
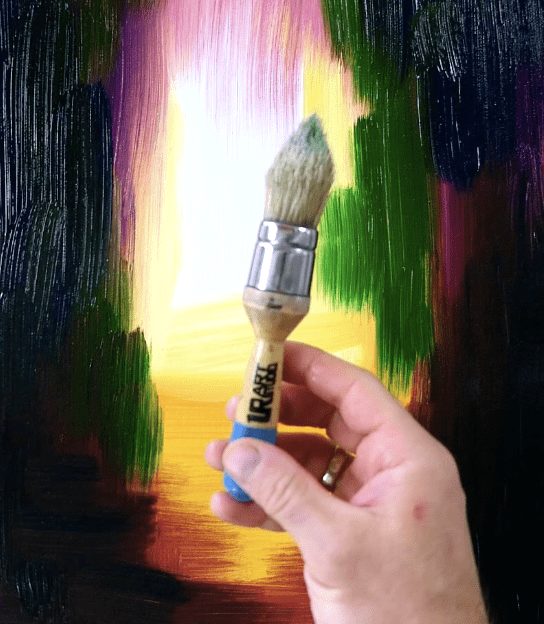
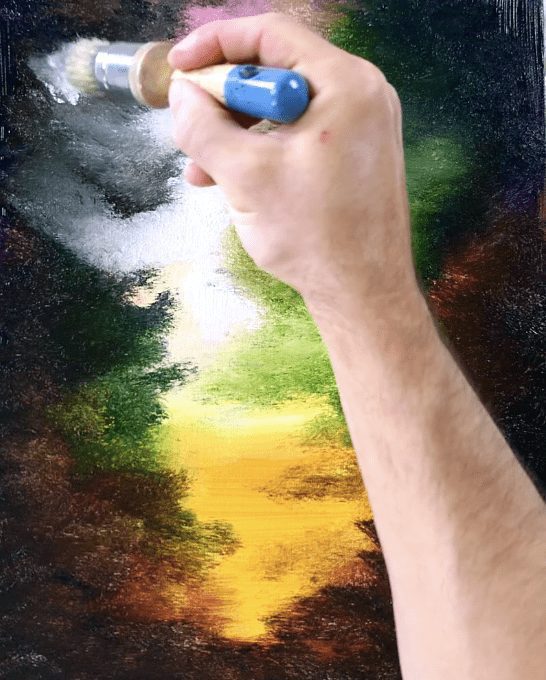
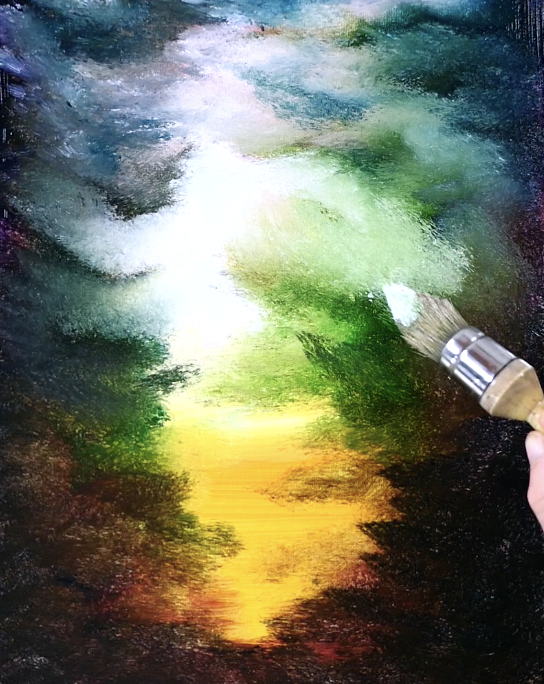
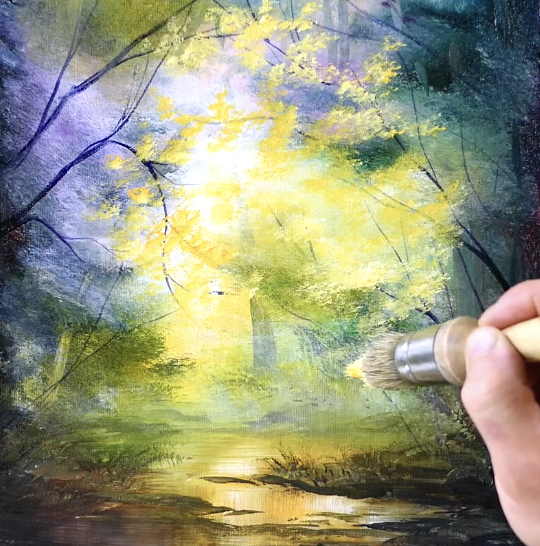
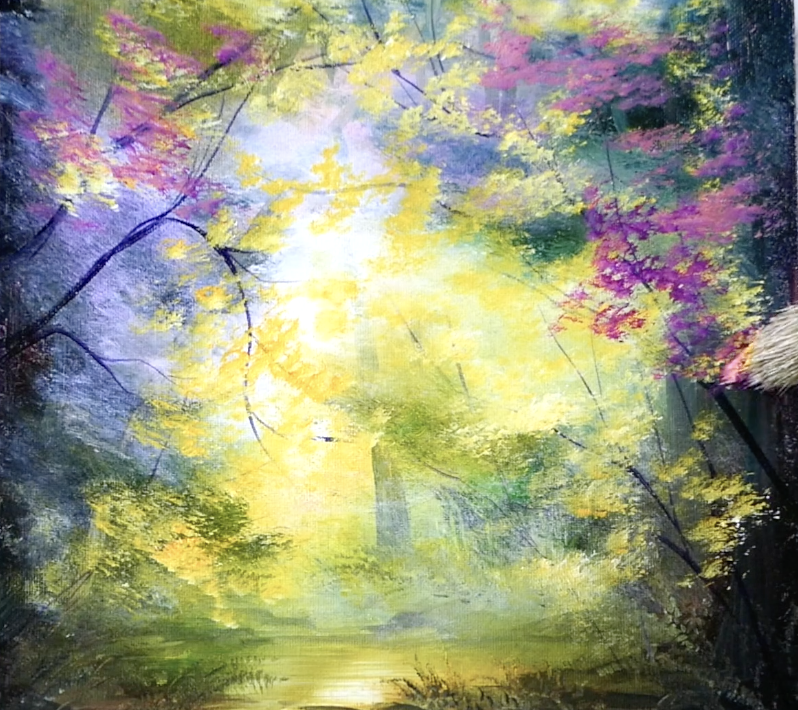
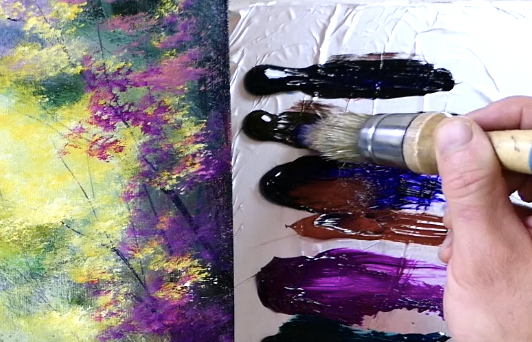
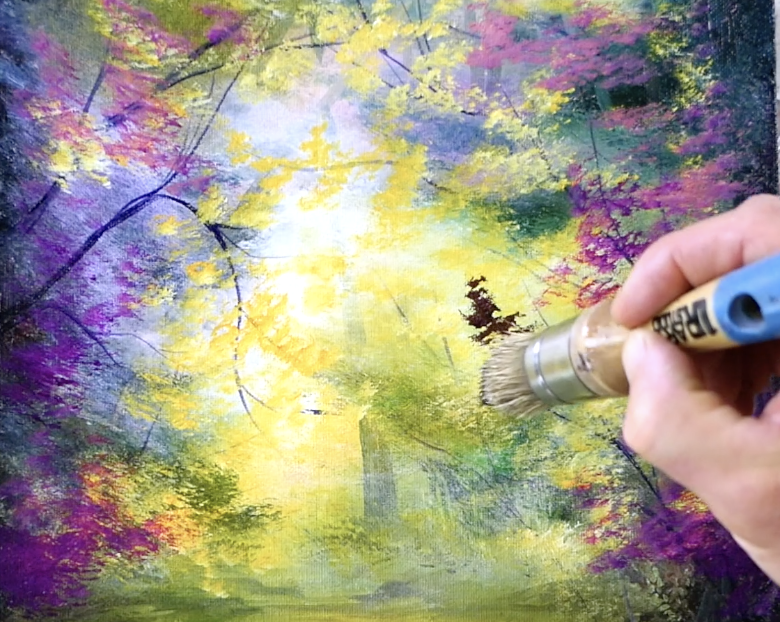
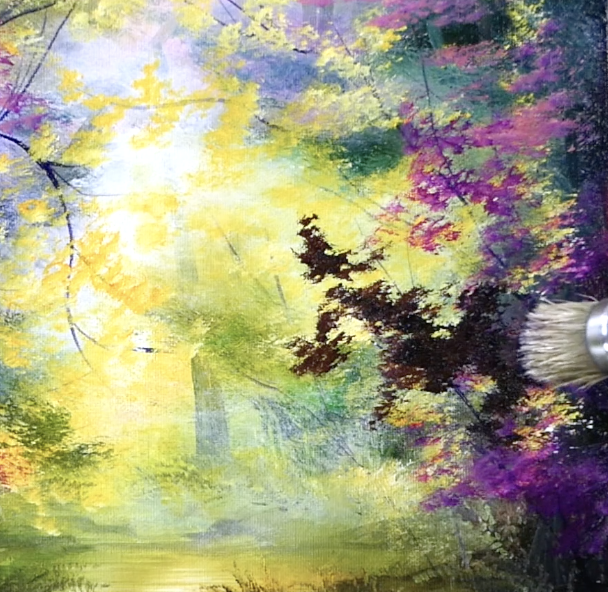
Now, focus on adding leaves, creating a balance between light and shadow. Use a pointed oval brush to paint clusters of leaves, beginning with lighter colors like yellow-green or soft whites. These will catch the light and merge into the overall composition. As twilight sets in, layer darker shades such as deep greens and black. The interplay of silhouetted leaves against the glowing branches will provide dynamic contrast, inviting the eye to explore every detail. Rotate your brush periodically to ensure smooth and natural transitions between colors.
Step #11: Adding Final Light Effects
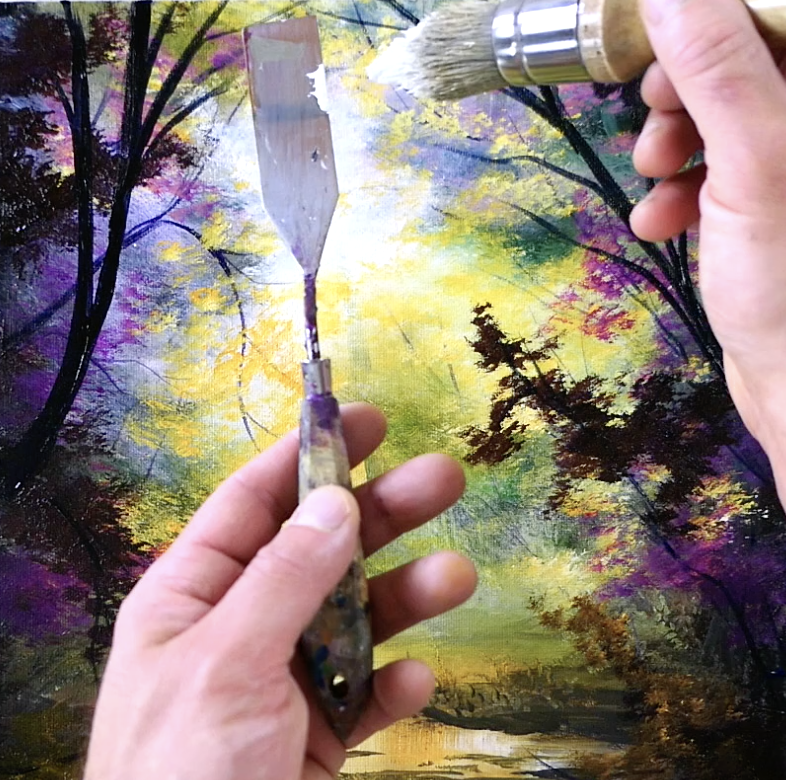
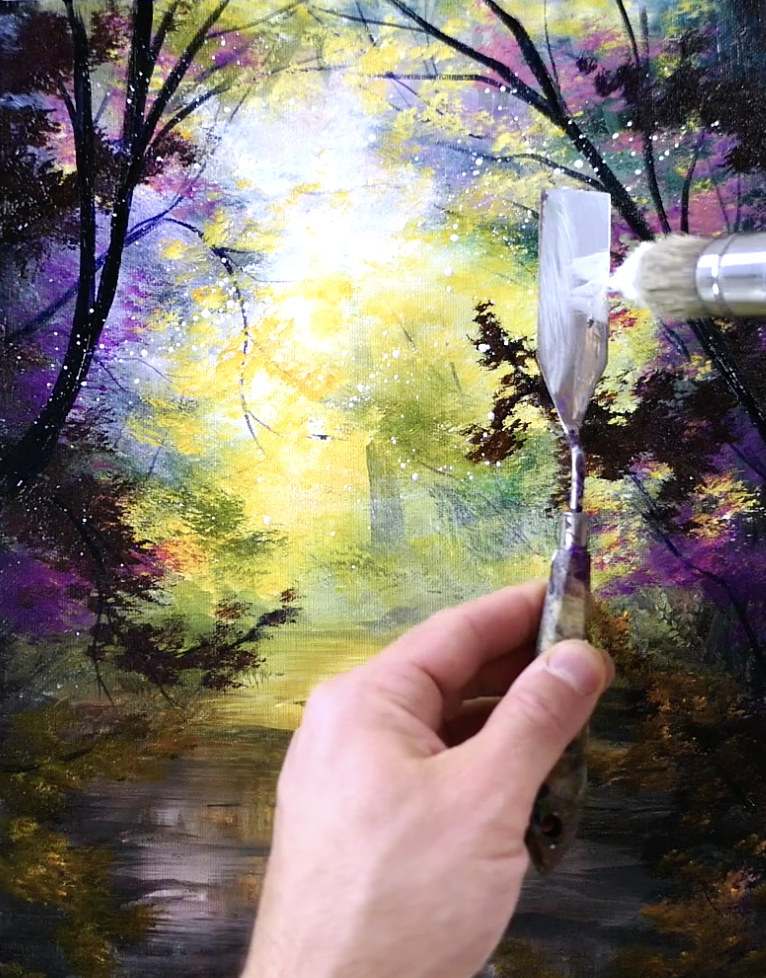
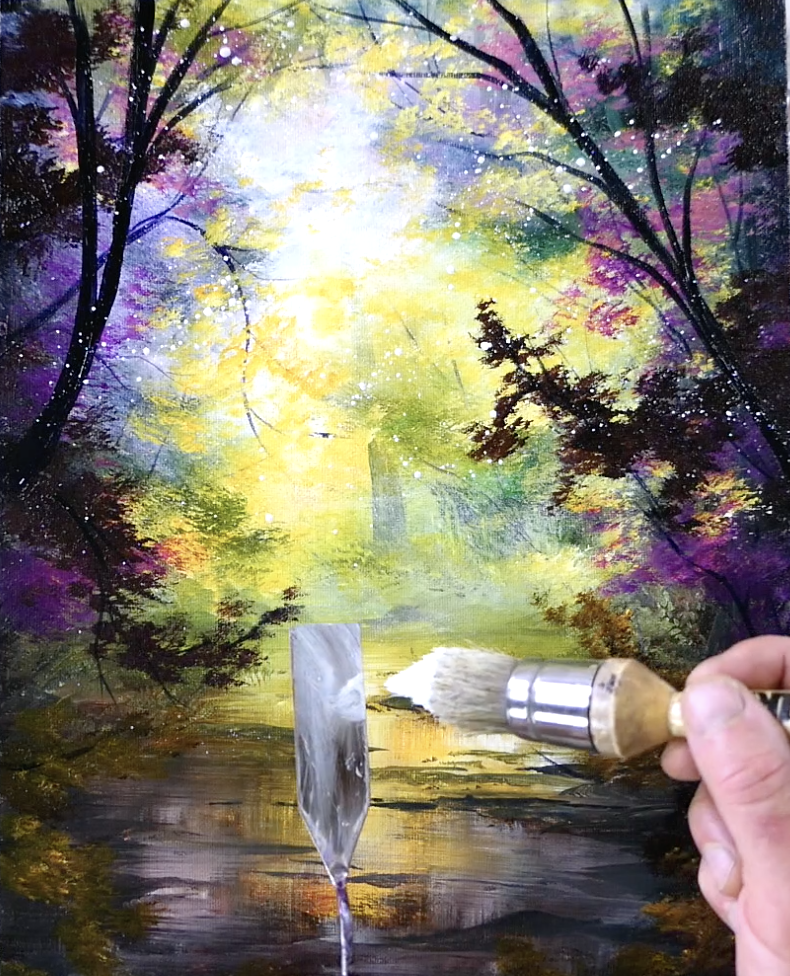
With the scene close to completion, add a magical finishing touch by sprinkling light sparkles onto the canvas. Load your pointed oval brush with titanium white paint (slightly thinned with water) and gently tap it against a palette knife, letting delicate droplets of paint land on the canvas. These tiny bursts of light mimic the sparkle of stars or dew, infusing the piece with enchantment. Exercise restraint—only a few subtle sparkles will amplify the mystique without overwhelming the viewer.
Step #12: Signing Your Work
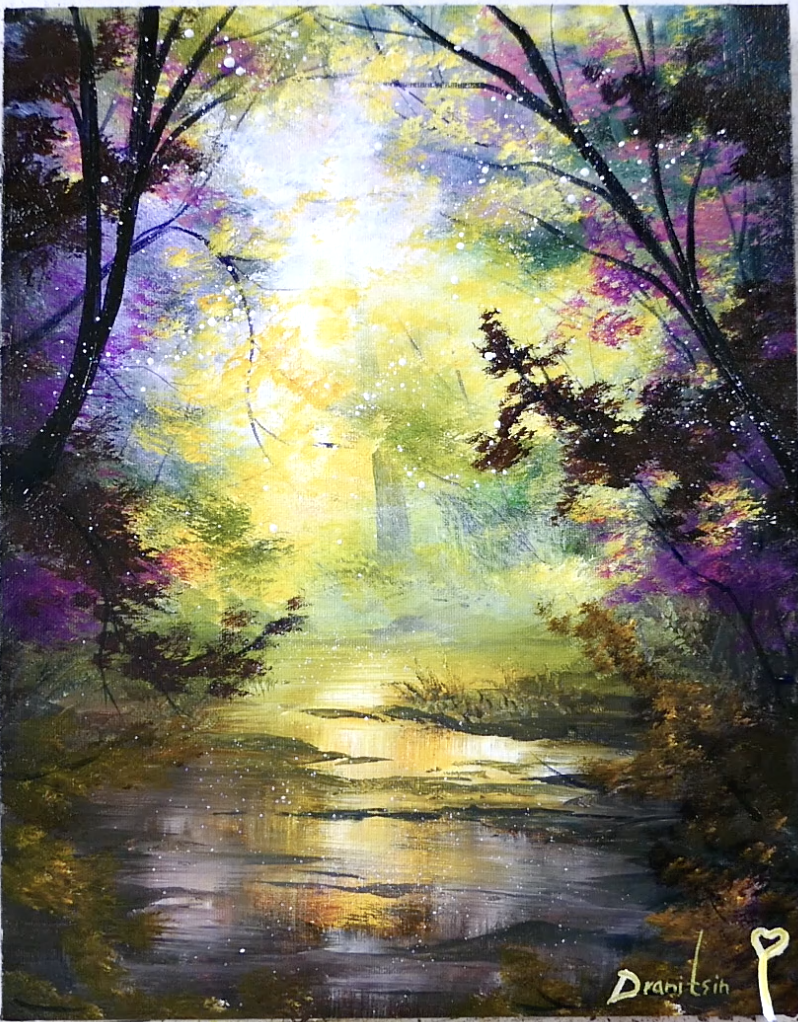
Every masterpiece deserves a signature! With the same liner brush used for branches, select a color that complements yet stands out from your painting’s tones. Sign your name in a small, unobtrusive corner of the canvas, marking your ownership and artistic journey.
Summary
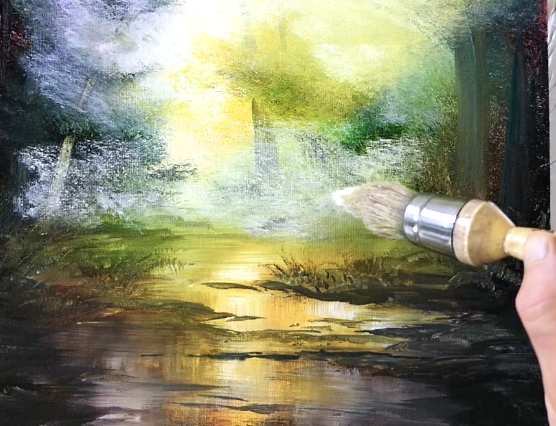
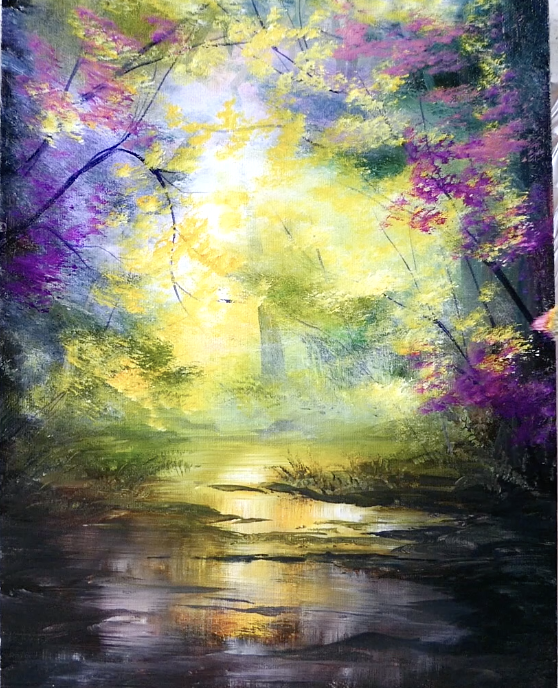
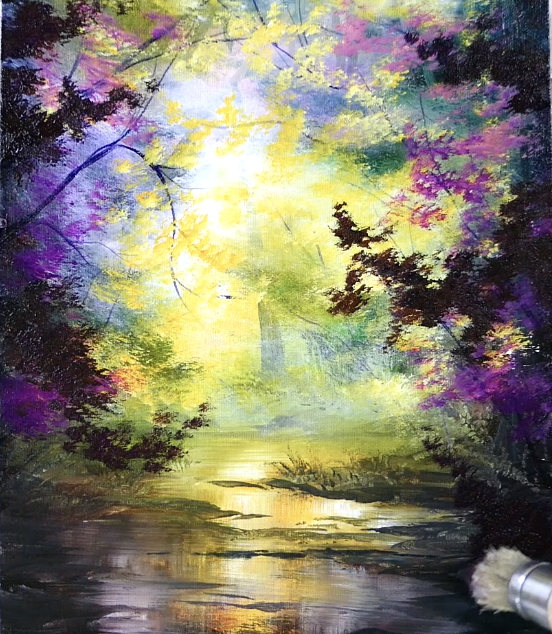
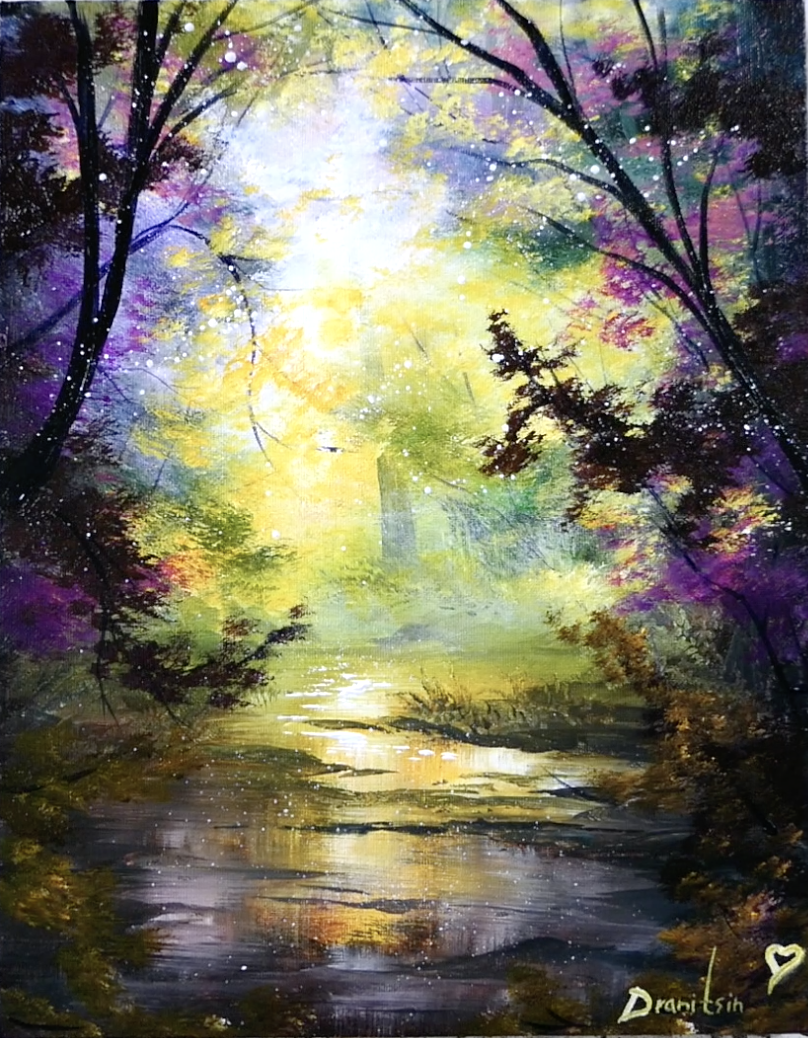
Congratulations! Through careful layering, blending, and attention to detail, you have crafted a stunning misty landscape that captures light’s dance and nature’s tranquility. Each step revealed new elements of your vision, resulting in a finished artwork that tells its own story. Display it proudly for all to admire, and never stop exploring the endless beauty and creativity art has to offer.



STEP BY STEP PAINTING INSTRUCTIONS AND NARRATED GUIDES FOR URARTSTUDIO.COM YOUTUBE ART VIDEO DEMONSTRATIONS
ART VIDEO STEP BY STEP VIDEO DEMONSTRATIONS AND ORIGINAL ART GALLERY BY URARTSTUDIO:
Welcome to the captivating world of URARTSTUDIO! Immerse yourself in the exquisite artistry and creativity with our step-by-step video demonstrations and exclusive original art gallery. Prepare to be spellbound as true mastery unfolds before your very eyes. Witness the artistic process come alive as our videos take you by the hand, guiding you through each brushstroke and technique. Discover the secret behind captivating compositions and the intricate details that make art truly mesmerizing. Our gallery proudly showcases a curated collection of unique and breathtaking artwork, where every piece tells a story and evokes powerful emotions. Journey with us and let your imagination take flight as URARTSTUDIO invites you to unravel the magic of art like never before.
